How to Use Floorplanner: A Comprehensive Guide for Beginners
Creating a floor plan used to require professional skills, expensive software, and a steep learning curve. Today, tools like Floorplanner have democratized the process, allowing anyone to design functional and beautiful spaces from the comfort of their home. Whether you’re renovating, moving, or just rearranging furniture, a well-designed floor plan is your roadmap to success.
In this comprehensive guide, I’ll walk you through everything you need to know about using Floorplanner effectively, from setting up your account to adding the finishing touches to your dream space. By the end, you’ll have the confidence to create professional-looking floor plans that bring your vision to life.
What is Floorplanner?
Floorplanner is an online tool that allows users to create floor plans and 3D models of their homes or commercial spaces. Founded in 2007, it has become one of the most popular floor planning tools available, with over 25 million users worldwide according to Floorplanner’s official website.
The platform offers both free and premium options, making it accessible to homeowners, interior designers, real estate agents, and architects alike. Its intuitive interface combines powerful features with ease of use, striking the perfect balance for beginners and professionals.
Key Features of Floorplanner
- 2D and 3D Visualization: Create detailed floor plans and view them in 3D
- Extensive Library: Access thousands of furniture and decoration items
- Customization Options: Adjust dimensions, colors, textures, and materials
- Collaboration Tools: Share your designs with clients, contractors, or friends
- Export Capabilities: Download your plans in various formats for professional use
Floorplanner Free Plan Limitations
Understanding the limitations of Floorplanner’s free plan is crucial before diving into your design project. Here’s what you need to know about the free plan restrictions:
Project Limits
- One Project Only: The free plan allows only one active project at a time
- Up to 3 Floors: You can create buildings with maximum 3 floors per project
- 50 m² Maximum: Floor space is limited to 50 square meters total
- Basic Room Types: Limited room type options compared to premium plans
Export Restrictions
- Low Resolution Only: Free exports are limited to 72 DPI resolution
- Watermark Included: All free exports include Floorplanner branding
- Limited Format Options: Only basic PNG/JPG formats available
- No Professional Formats: No access to DXF, DWG, or high-res PDF exports
- No Print-Ready Files: Cannot generate professional blueprints
Feature Limitations
- Basic Furniture Library: Access to limited furniture and decoration items
- No Premium Materials: Standard textures only, no premium material options
- Limited 3D Rendering: Basic 3D view without advanced lighting options
- No Collaboration Tools: Cannot share projects for editing with others
- No Custom Brands: Cannot add custom furniture from specific brands
- Basic Support: Community support only, no priority customer service
Workaround Tips for Free Users
- Plan Strategically: Design your entire space in one comprehensive project
- Use Screenshots: Take high-quality screenshots of your 3D views for presentations
- Export Multiple Views: Save different angles and room views separately
- Consider Upgrading Temporarily: Purchase one month of premium when ready to finalize and export
💡 Pro Tip: If the free plan limitations are too restrictive for your project, consider BrightShot as an alternative. BrightShot offers more generous free features and no watermarks on exports, making it ideal for both personal and professional use.
Getting Started with Floorplanner
Creating Your Account
- Visit Floorplanner.com
- Click on “Sign Up” in the top right corner
- Enter your email address and create a password
- Choose between the free plan or one of the premium subscriptions
💡 Pro Tip: Start with the free plan to get familiar with the interface before deciding if you need premium features. The free version includes one project with up to three floors, which is sufficient for most single-home designs.
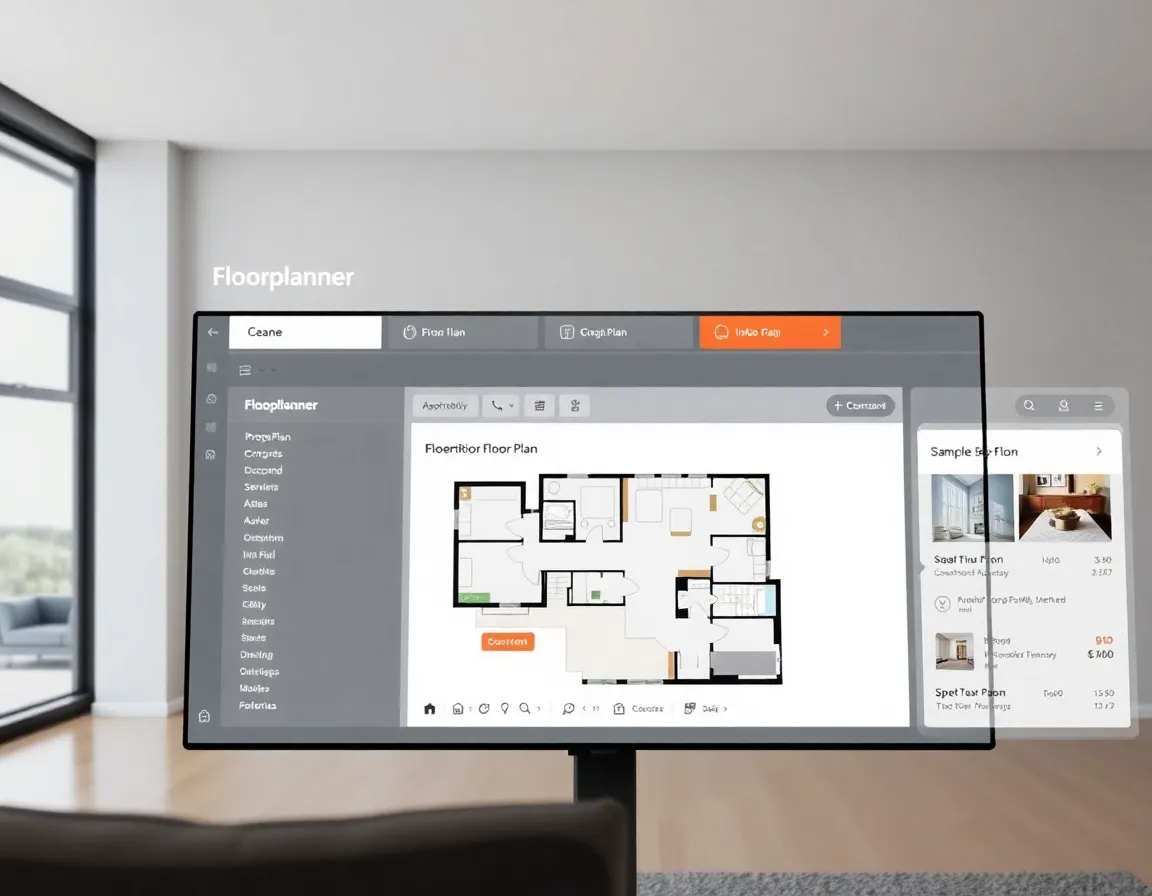
Understanding the Interface
Once you’ve created your account and started a new project, you’ll be greeted with Floorplanner’s editor interface. Here’s a breakdown of the main elements:
- Toolbar: Located at the top, contains tools for drawing walls, adding doors and windows
- Library Panel: On the left side, houses all furniture and decoration items
- Properties Panel: On the right side, allows you to adjust selected elements
- Canvas: The central area where you create your floor plan
- View Controls: At the bottom, lets you switch between 2D and 3D views
Creating Your First Floor Plan
Step 1: Setting Up Your Project
When creating a new project, you’ll need to:
- Name your project (e.g., “Home Renovation” or “Dream Kitchen”)
- Set the unit of measurement (feet/inches or meters/centimeters)
- Choose a template or start from scratch
- Set the default ceiling height
Step 2: Drawing Walls
To draw walls:
- Select the wall tool from the toolbar
- Click on the canvas where you want your wall to begin
- Move your cursor and click again to create wall segments
- To close a room, click on the starting point
- Adjust wall thickness through the Properties panel
💡 Pro Tip: Hold the Shift key while drawing walls to ensure they’re perfectly straight (0°, 45°, or 90° angles), which is essential for clean, professional-looking plans.
Step 3: Adding Doors and Windows
- Select the door or window tool from the toolbar
- Click on a wall where you want to place the element
- Adjust the size and orientation using the Properties panel
- To change the style, select from available options in the Properties panel
According to Home Depot’s Door Buying Guide, standard interior doors are typically 80 inches tall and 24-36 inches wide, while exterior doors are usually 36 inches wide. Keep these dimensions in mind when creating your floor plan for accuracy.
Step-by-Step Screenshot Tutorial
To help you follow along visually, here’s a detailed step-by-step breakdown with specific instructions for each stage of your floor plan creation:
Screenshot Tutorial: Getting Started
- Account Setup Screenshot: Dashboard view after registration
- Project Creation Screenshot: New project dialog with settings
- Interface Overview Screenshot: Labeled interface elements and tools
- Template Selection Screenshot: Available templates and starting options
Screenshot Tutorial: Drawing Your Floor Plan
- Wall Tool Selection Screenshot: Toolbar with wall tool highlighted
- First Wall Creation Screenshot: Drawing the initial wall segment
- Room Completion Screenshot: Closing a room by connecting walls
- Wall Properties Screenshot: Adjusting wall thickness and properties
Screenshot Tutorial: Adding Openings
- Door Placement Screenshot: Selecting and placing a door on a wall
- Window Addition Screenshot: Adding windows with proper spacing
- Opening Properties Screenshot: Adjusting door and window dimensions
- Multiple Openings Screenshot: A room with multiple doors and windows
Screenshot Tutorial: Room Definition
- Room Selection Screenshot: Clicking to select an enclosed area
- Room Type Assignment Screenshot: Dropdown menu for room types
- Room Labeling Screenshot: Adding room names and labels
- Floor Material Screenshot: Selecting and applying floor materials
Screenshot Tutorial: 3D Visualization
- 3D Mode Switch Screenshot: Toggling between 2D and 3D views
- 3D Navigation Screenshot: Using mouse controls to explore
- View Angle Adjustment Screenshot: Different viewing perspectives
- Material Application Screenshot: Applying textures in 3D view
💡 Pro Tip: When following these screenshot tutorials, keep your Floorplanner window sized similarly to the screenshots for easier reference. Each step builds on the previous one, so complete them in order for best results.
Step 4: Creating and Defining Rooms
After drawing your walls, you can:
- Define room types by selecting the enclosed area
- Choose the room type from the dropdown menu (bedroom, kitchen, etc.)
- Add room names and labels
- Set floor materials and colors
Furnishing Your Space
Finding and Placing Furniture
Floorplanner offers an extensive library of furniture and décor items:
- Browse categories in the Library panel (seating, tables, beds, etc.)
- Drag and drop items onto your floor plan
- Rotate furniture by selecting it and using the rotation handle
- Resize items by pulling the corner handles (though be careful to maintain realistic proportions)
💡 Pro Tip: When furnishing your space, start with the largest pieces first (sofas, beds, dining tables) and work your way down to smaller items. This approach, recommended by Wayfair’s design experts, ensures your floor plan accounts for the most important elements before adding accessories.
Creating Custom Furniture
If you can’t find exactly what you need in the library:
- Use the “Custom Furniture” tool
- Set dimensions for your custom piece
- Choose colors and materials
- Position it in your plan
This is particularly useful for custom-built furniture, vintage pieces, or items with specific dimensions not found in the standard library.
Advanced Features and Techniques
Working with Layers
Layers help organize complex projects:
- Access the Layers panel from the toolbar
- Create new layers for different elements (structure, furniture, electrical, etc.)
- Toggle visibility of layers as needed
- Lock layers to prevent accidental changes
Creating Multi-Floor Buildings
For multi-story homes or buildings:
- Navigate to the Floors panel
- Click “Add Floor” to create a new level
- Choose to copy the floor below or start from scratch
- Switch between floors using the floor selector
Adding Measurements and Annotations
To make your plan informative:
- Use the Dimension tool to show distances between elements
- Add text annotations to provide additional information
- Include legends to explain symbols or colors used
According to Architectural Digest, clear measurements and annotations are crucial for contractors and builders to accurately implement your design.
Visualizing Your Design
Switching to 3D View
One of Floorplanner’s most powerful features is its 3D visualization:
- Click the “3D” button at the bottom of the editor
- Navigate using your mouse (scroll to zoom, right-click to pan, left-click to rotate)
- Adjust the view angle using the view controls
- Use the “Walkthrough” mode to explore your space from a first-person perspective
Customizing Materials and Colors
To make your 3D view more realistic:
- Select walls, floors, or furniture
- Open the Materials tab in the Properties panel
- Choose from available textures and colors
- Adjust properties like glossiness and transparency
For inspiration on material combinations, check out Pinterest’s interior design boards, where designers share trending texture and color pairings.
Setting Up Lighting
Proper lighting transforms your 3D visualization:
- Add light fixtures from the library
- Adjust their properties (brightness, color, range)
- Toggle between day and night modes
- Use the “Render” feature for photorealistic images (premium feature)
Comparing Floor Planning Tools
When choosing a floor planning tool, it’s important to consider your specific needs and budget. Here’s how Floorplanner stacks up against other popular options:
| Feature | Floorplanner | SketchUp | RoomSketcher | BrightShot |
|---|---|---|---|---|
| Free Version | Yes (limited) | Yes (limited) | No | Yes |
| Ease of Use | High | Medium | High | Very High |
| 3D Visualization | Yes | Yes | Yes | Yes |
| Furniture Library | 150,000+ items | Limited | Good | Extensive |
| AI Assistance | No | No | No | Yes |
| Real-time Collaboration | Premium only | Limited | Yes | Yes |
| Mobile Support | Limited | Limited | Yes | Full |
| Price (Premium) | $5-29/month | $119-299/year | $49-99/month | $9.99-29.99/month |
While Floorplanner excels in ease of use and has a robust free version, BrightShot stands out with its AI-powered design assistance and superior visualization capabilities. BrightShot’s intuitive interface and smart recommendations make it particularly valuable for beginners who want professional-looking results without the learning curve.
💡 Pro Tip: If you’re serious about interior design, consider using both Floorplanner for technical floor plans and BrightShot for visualizing the finished space with realistic materials, lighting, and decor. This combination gives you both precision and inspiration.

Sharing and Exporting Your Designs
Collaboration Options
Floorplanner makes it easy to share your designs:
- Click the “Share” button in the top right corner
- Choose between viewing or editing privileges
- Share via email or generate a link
- Set password protection if needed
Export Options
When your design is complete, export it for various uses:
- 2D Floor Plans: Export as PNG, JPG, or PDF
- 3D Views: Export as PNG or JPG
- Print-ready Files: Generate high-resolution PDFs with measurements
- Professional Formats: Export to DXF or DWG for use in CAD software (premium feature)
According to This Old House, having detailed floor plans can save up to 15% on renovation costs by reducing miscommunication with contractors.
Practical Applications of Floorplanner
Home Renovation Planning
Before starting a renovation:
- Create a floor plan of your current space
- Design alternative layouts to explore options
- Plan for structural changes with accurate measurements
- Share designs with contractors for more precise quotes
Furniture Shopping and Arrangement
When purchasing new furniture:
- Measure your space and create an accurate floor plan
- Add furniture with exact dimensions to ensure proper fit
- Experiment with different arrangements before committing
- Create a shopping list based on your plan
The experts at IKEA recommend creating a floor plan before furniture shopping to avoid costly mistakes and returns.
Real Estate Marketing
For real estate professionals:
- Create attractive floor plans for property listings
- Generate 3D walkthroughs to showcase properties virtually
- Demonstrate potential layouts for empty spaces
- Highlight key features and dimensions
Budget-Friendly Tips for Floorplanner Users
- 🔵 Budget-Friendly (under $50): Start with the free version and upgrade to a single-month premium subscription only when you need to export professional files or create additional projects
- 🟡 Mid-Range ($50-200): Consider a quarterly subscription during active design periods, like when planning a renovation
- 🟢 Premium ($200+): Annual subscriptions offer the best value for professionals or frequent users
💡 Pro Tip: Take advantage of Floorplanner’s free tutorials and YouTube guides before upgrading to premium. Many users find they can accomplish their goals with just the free version after becoming familiar with the interface.
Common Mistakes to Avoid
- Not measuring your actual space accurately before starting
- Forgetting to account for door swings and clearance areas
- Placing furniture too close together (allow for proper traffic flow)
- Ignoring window locations when placing furniture
- Creating unrealistic designs that don’t consider structural limitations
According to Family Handyman, inaccurate measurements are the number one cause of problems in home renovation projects.
Conclusion: Bringing Your Floor Plans to Life
Mastering Floorplanner is just the beginning of your design journey. With the skills you’ve learned in this guide, you can create detailed, accurate floor plans that serve as the foundation for beautiful spaces. Remember that good design is iterative—don’t be afraid to experiment with different layouts and furniture arrangements until you find what works best for your needs.
For those looking to take their designs to the next level, consider using BrightShot to transform your floor plans into photorealistic visualizations. BrightShot’s AI-powered technology can suggest optimal furniture arrangements, color schemes, and decor options based on your floor plan, helping you envision the finished space before making any purchases or changes.
Ready to create your first floor plan? Start with Floorplanner’s intuitive interface to map out your space, then bring your vision to life with BrightShot’s advanced visualization tools. Your dream space is just a few clicks away!
Try BrightShot today and see how AI can transform your interior design process, making professional-quality design accessible to everyone.