How to Use Smart Draw for Effective Diagram Creation
Creating professional diagrams, floor plans, and visual representations of your design ideas doesn’t have to be complicated or require extensive graphic design skills. With SmartDraw, anyone can produce high-quality diagrams that communicate ideas effectively. Whether you’re planning a home renovation, rearranging furniture, or designing an entirely new space, this powerful yet user-friendly software can be your virtual drawing board. In this comprehensive guide, we’ll walk through everything you need to know about using SmartDraw to enhance your design visualization skills.
What is SmartDraw and Why Use It?
SmartDraw is a versatile diagram and visualization tool that stands out for its intuitive interface and extensive template library. Unlike more complex CAD programs that require significant training, SmartDraw was designed with accessibility in mind while still delivering professional-quality results.
Key Benefits of SmartDraw
- User-Friendly Interface: Even if you’re not tech-savvy, you can create impressive diagrams within minutes
- Extensive Template Library: Access thousands of templates across numerous categories
- Automatic Formatting: The software handles alignment, spacing, and other design elements automatically
- Collaboration Features: Share and work on projects with teammates in real-time
- Integration Capabilities: Works with popular platforms like Google Workspace, Microsoft Office, and Dropbox
- Cross-Platform Functionality: Use it on Windows, Mac, or through any web browser
According to PCMag, SmartDraw ranks among the top diagram software options for its balance of powerful features and ease of use, making it ideal for both beginners and experienced designers.
Getting Started with SmartDraw
Before diving into creating complex diagrams, let’s cover the basics of getting set up with SmartDraw.
Installation and Setup
- Visit the SmartDraw official website to download the software or sign up for the cloud version
- Choose between the desktop application or cloud-based service
- Complete the registration process
- For desktop users, follow the installation wizard
- Launch the application and familiarize yourself with the dashboard
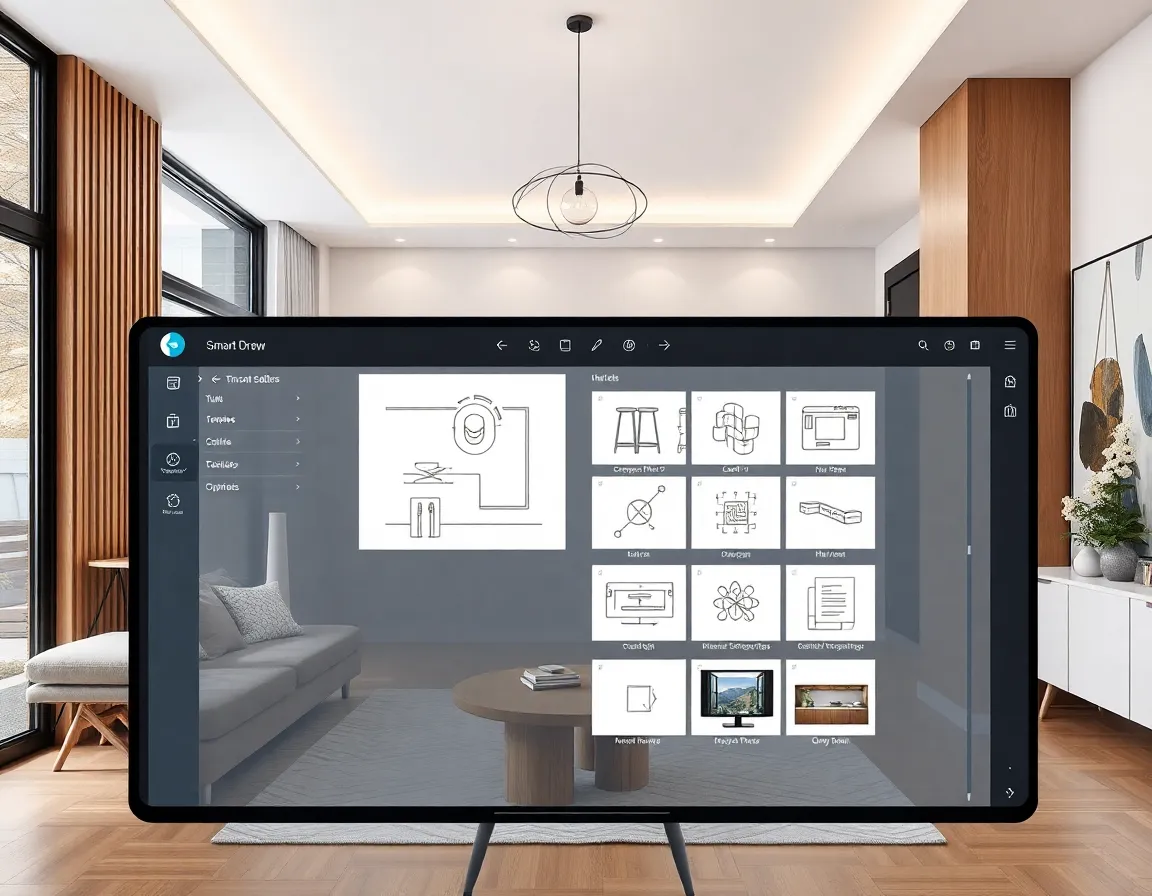
Understanding the Interface
The SmartDraw interface is organized into several key sections:
- Template Browser: The left panel where you can browse and select templates
- Drawing Canvas: The central area where you create and edit your diagrams
- Toolbar: Contains commonly used tools and formatting options
- Properties Panel: Allows you to adjust settings for selected elements
- Symbol Library: Houses the shapes and elements you can add to your diagrams
💡 Pro Tip: When first starting out, spend 15-20 minutes exploring the template library without creating anything. This will give you a comprehensive understanding of what’s possible and spark ideas for your own projects.
Creating Your First Diagram
Let’s walk through the process of creating a basic floor plan diagram, which is particularly useful for interior design projects.
Selecting the Right Template
- From the template browser, navigate to “Floor Plans” or “Home Design”
- Browse through the available templates to find one that most closely matches your needs
- Click on your chosen template to open it in the drawing canvas
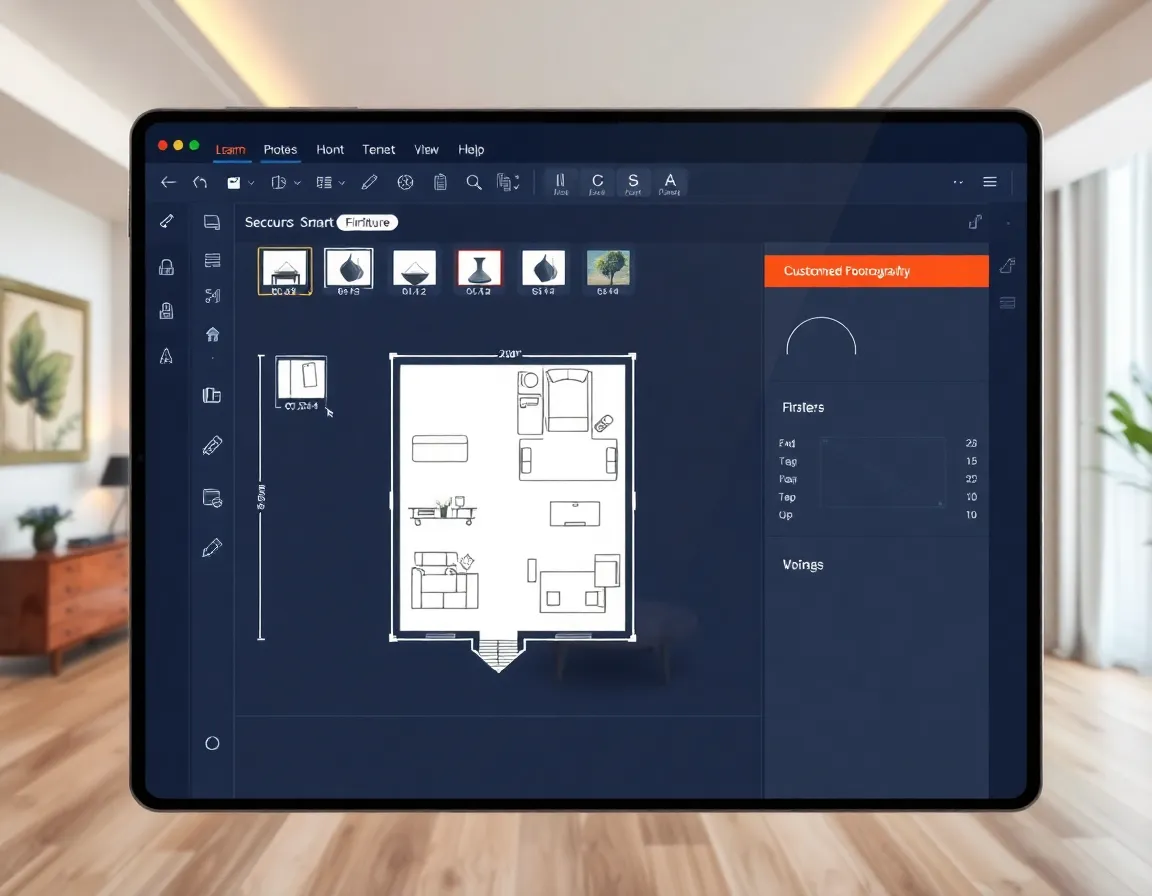
Customizing Your Floor Plan
Once you’ve selected a template, you can begin customizing it to match your specific requirements:
- Adjust Room Dimensions: Click on walls and drag them to resize rooms
- Add or Remove Walls: Use the wall tools to create new partitions or remove existing ones
- Add Doors and Windows: Drag these elements from the symbol library onto your walls
- Place Furniture: Browse the furniture library and drag items into position
- Add Measurements: Use the dimension tool to mark distances and room sizes
- Add Text Labels: Include room names, notes, or other important information
💡 Pro Tip: Use the “Snap to Grid” feature (found in the View menu) to ensure perfect alignment of all elements in your floor plan. This creates a more professional and accurate result.
Working with Colors and Materials
To make your floor plan more visually appealing and realistic:
- Select any element in your diagram
- Use the Properties panel to change its color, pattern, or texture
- Consider using color coding for different types of spaces (e.g., living areas, bedrooms, bathrooms)
- Add textures to represent different flooring materials
- Use patterns to indicate special features like kitchen islands or built-in shelving
According to Houzz, well-designed floor plans with clear visual distinctions between spaces help clients better understand proposed designs and make more informed decisions about their spaces.
Advanced SmartDraw Features for Interior Design
Once you’ve mastered the basics, it’s time to explore SmartDraw’s more advanced features that can take your interior design visualizations to the next level.
Creating 3D Visualizations
While SmartDraw isn’t primarily a 3D tool, you can create pseudo-3D visualizations:
- Start with your 2D floor plan
- Use the “3D View” option (if available in your version)
- Alternatively, use isometric templates to create a 3D-like perspective
- Add shadows and depth to furniture and fixtures
- Use color gradients to create the illusion of lighting
For truly photorealistic 3D visualizations, you might want to consider complementary tools like BrightShot, an AI-powered interior design tool that can transform your SmartDraw floor plans into stunning 3D renderings with realistic textures, lighting, and materials.
Creating Material and Furniture Schedules
For professional design projects, you’ll often need detailed schedules of materials and furniture:
- Use SmartDraw’s table features to create organized schedules
- Link elements in your diagram to entries in your schedule
- Include columns for item names, dimensions, quantities, costs, and suppliers
- Export schedules to Excel for further manipulation or sharing with clients
💡 Pro Tip: Create a standardized template for your material and furniture schedules that you can reuse across projects. Include your branding elements and save it as a custom template for quick access.
Comparing SmartDraw with Other Diagram Tools
When choosing diagram software for interior design work, it’s important to understand how SmartDraw compares to alternatives:
| Feature | SmartDraw | Lucidchart | Visio | AutoCAD | BrightShot |
|---|---|---|---|---|---|
| Ease of Use | ⭐⭐⭐⭐ | ⭐⭐⭐⭐ | ⭐⭐⭐ | ⭐⭐ | ⭐⭐⭐⭐⭐ |
| Interior Design Templates | ⭐⭐⭐⭐ | ⭐⭐⭐ | ⭐⭐⭐ | ⭐⭐⭐⭐ | ⭐⭐⭐⭐⭐ |
| 3D Capabilities | ⭐⭐ | ⭐ | ⭐⭐ | ⭐⭐⭐⭐ | ⭐⭐⭐⭐⭐ |
| AI-Powered Features | ⭐⭐ | ⭐⭐ | ⭐⭐ | ⭐⭐⭐ | ⭐⭐⭐⭐⭐ |
| Price Value | ⭐⭐⭐⭐ | ⭐⭐⭐ | ⭐⭐ | ⭐⭐ | ⭐⭐⭐⭐⭐ |
| Learning Curve | Low | Low | Medium | High | Very Low |
| Starting Price | $9.95/month | $7.95/month | $5/month | $210/month | Free tier available |
While SmartDraw excels in ease of use and template variety, BrightShot offers superior AI-powered design suggestions and 3D visualization capabilities that complement SmartDraw’s diagramming strengths. For comprehensive design projects, using both tools in tandem can produce outstanding results.
According to G2’s software reviews, SmartDraw consistently ranks highly for user satisfaction in the diagram software category, particularly among non-technical users.
Practical Applications of SmartDraw for Interior Design
SmartDraw’s versatility makes it valuable for numerous interior design applications:
Space Planning and Furniture Layouts
- Create accurate room layouts with precise dimensions
- Experiment with different furniture arrangements before purchasing anything
- Test how traffic flows through a space
- Visualize clearances around furniture and fixtures
Kitchen and Bathroom Design
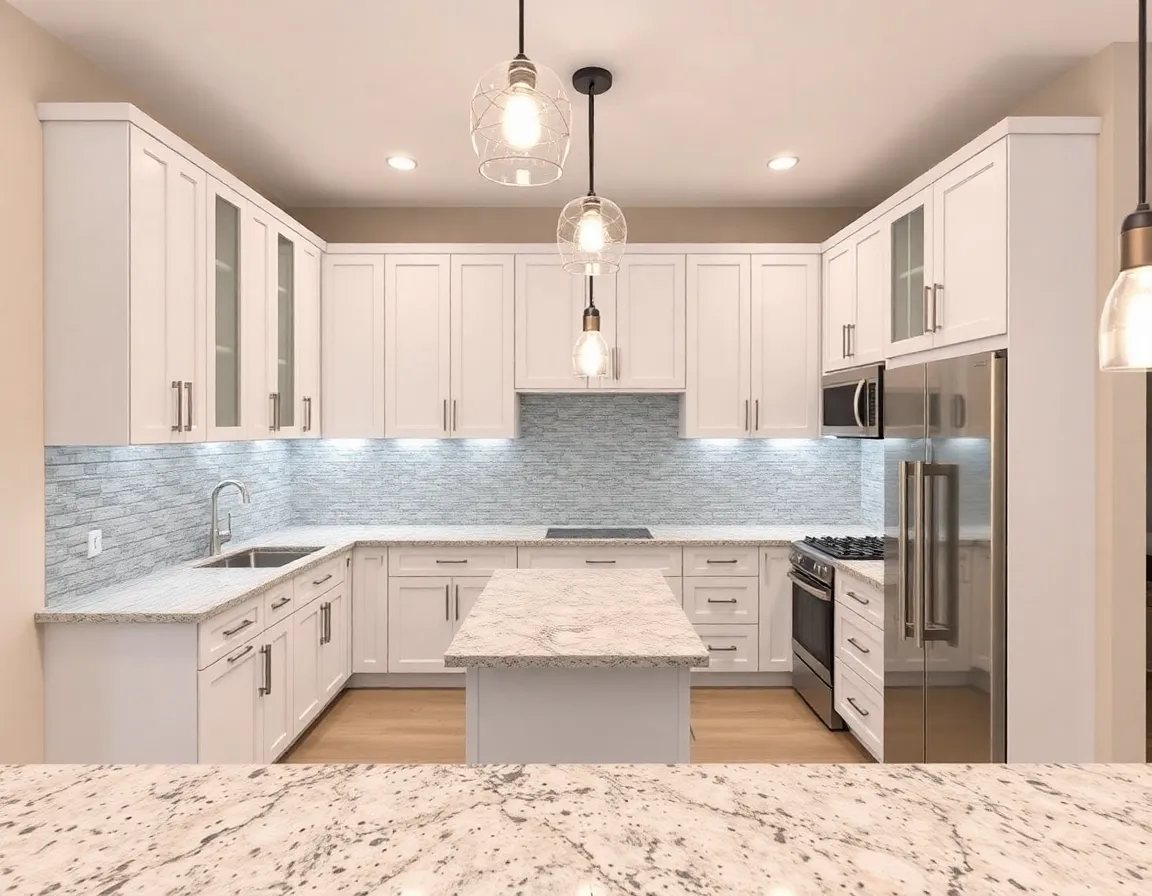
- Design efficient work triangles in kitchens
- Plan cabinet layouts and storage solutions
- Visualize plumbing fixture placement
- Ensure adequate clearances for doors and drawers
💡 Pro Tip: When designing kitchens in SmartDraw, use different colored lines to mark the “work triangle” between the sink, stove, and refrigerator. According to This Old House, an efficient work triangle should total between 12 and 26 feet in perimeter distance.
Renovation Planning
- Create “before and after” diagrams
- Visualize wall removals or additions
- Plan electrical and plumbing changes
- Document existing conditions before demolition begins
Client Presentations
- Create professional-looking diagrams for client approval
- Provide clear visualizations of proposed designs
- Include material and color selections
- Export high-quality PDFs for presentation boards
Budget-Friendly Design Planning with SmartDraw
One of the advantages of using diagramming tools for design planning is the potential cost savings. Here are some budget-focused applications:
-
🔵 Budget-Friendly (under $50)
- Use SmartDraw to test multiple furniture arrangements before purchasing anything
- Create shopping lists with alternatives at different price points
- Plan DIY projects with detailed measurements
- Compare different flooring or tile patterns before committing
-
🟡 Mid-Range ($50-200)
- Design custom storage solutions with precise measurements
- Plan medium-sized renovations like bathroom updates
- Create detailed lighting plans to optimize fixture placement
- Design custom furniture pieces for carpenter quotations
-
🟢 Premium ($200+)
- Develop comprehensive renovation plans for entire homes
- Create detailed kitchen design packages
- Design complex built-in cabinetry and millwork
- Plan commercial spaces and office layouts
According to Home Depot’s DIY project guides, careful planning with tools like SmartDraw can reduce material waste by up to 15% on renovation projects, representing significant cost savings.
Tips for Efficient Diagram Creation
To maximize your productivity with SmartDraw, consider these efficiency tips:
- 🎨 Use keyboard shortcuts - Learn the most common commands to speed up your workflow
- 🎨 Create custom templates - Build and save your own templates for frequently created diagrams
- 🎨 Use layers - Organize complex diagrams with layers for different elements (structure, furniture, annotations)
- 🎨 Group related objects - Group items that function as a unit for easier manipulation
- 🎨 Save custom symbols - Create your own symbol library for unique items you use frequently
- 🎨 Use the alignment tools - Ensure professional-looking results with proper alignment
💡 Pro Tip: Create a custom “starter template” with your most commonly used room dimensions, door sizes, and furniture pieces already in place. This can save you significant time when starting new projects.
Exporting and Sharing Your Diagrams
Once your design is complete, SmartDraw offers numerous options for sharing and exporting:
- Export as PDF - Create high-resolution documents for printing or sharing
- Export as Image - Generate PNG or JPG files for use in presentations
- Share via Link - Send a direct link to your diagram for online viewing
- Print - Create physical copies with precise scaling
- Embed - Include your diagrams in websites or blog posts
- Export to CAD - Some versions support export to CAD formats for further development
For collaborative interior design projects, Pinterest boards can be an excellent companion to SmartDraw diagrams, allowing you to pair technical floor plans with inspirational images that communicate your design vision.
Enhancing Your SmartDraw Designs with AI Tools
While SmartDraw provides excellent diagramming capabilities, combining it with AI-powered design tools can take your interior design process to the next level. BrightShot is an innovative AI room interior designer that works beautifully as a complement to SmartDraw.
Here’s how to leverage both tools for optimal results:
- Create your basic floor plan and layout in SmartDraw
- Export your diagram as an image
- Upload this floor plan to BrightShot
- Use BrightShot’s AI to generate photorealistic renderings of your space
- Experiment with different color schemes, furniture styles, and decor elements
- Use the AI-generated images to refine your SmartDraw plans
- Present both the technical diagrams and realistic visualizations to clients
This workflow combines the precision and technical detail of SmartDraw with the inspirational and realistic visualizations from BrightShot, giving clients both practical and emotional connections to your designs.
Conclusion: Bringing Your Designs to Life
SmartDraw offers a powerful yet accessible platform for creating professional diagrams that can transform your interior design process. From basic floor plans to detailed renovation designs, it provides the tools needed to visualize spaces effectively before any physical work begins.
By mastering SmartDraw’s features and combining them with complementary tools like BrightShot, you can create comprehensive design packages that include both technical diagrams and stunning visualizations. This combination helps clients better understand your design vision and makes the implementation process smoother.
Ready to take your interior design visualizations to the next level? Start by creating your first SmartDraw diagram today, then enhance it with BrightShot’s AI-powered design suggestions. Your clients will appreciate the clarity and professionalism, and you’ll enjoy a more efficient design process with fewer revisions and misunderstandings.
Visit BrightShot today to discover how AI can transform your SmartDraw diagrams into photorealistic interior design visualizations that will impress clients and bring your creative visions to life.