Picking a dslr camera for real estate photography in 2026 still comes down to two formats: a large-sensor DSLR like the Canon 5D Mark IV or a modern mirrorless body like the Sony a7 IV. The best real estate photography cameras share three traits — full-frame sensor, wide dynamic range, and a lens mount with proper ultra-wide options. This guide covers which real estate camera bodies are worth buying at $1,500, $2,500, and $4,000 price tiers, the features that actually matter for interiors, and the lenses, tripods, and settings that turn raw files into listing-ready images. Pair the right body with a solid editing workflow — see our guide on real estate photography camera settings — and you have a kit that will last several years of listings.
Choosing the Right Camera System

Picking the right camera is the cornerstone of your real estate photography setup. The goal isn’t the most expensive body on the shelf — it’s a reliable system that produces consistent results and keeps your workflow fast. A real estate camera has a specific job: capture wide rooms with mixed lighting, hold detail in window highlights, and keep architectural lines straight.
The big debate usually boils down to two main players: mirrorless and DSLR. For a long time, DSLRs were the default for professional photography. They’re built like tanks, have a massive ecosystem of lenses, and their batteries last a full day of shoots. They use a mirror to bounce the image up into an optical viewfinder, so you see a true, unfiltered view through the lens.
Mirrorless cameras have taken over the new-camera market in the last few years. Removing the mirror box makes the body smaller and lighter — useful when you’re hauling gear across five properties in a day. The electronic viewfinder gives you a live preview of the exposure, which removes a lot of guesswork on bracketed interior shots.
To help you weigh the options, here is a quick breakdown of how the two camera types stack up for property shoots.
Comparing Camera Types for Property Photography
| Feature | Mirrorless Camera | DSLR Camera |
|---|---|---|
| Size & Weight | Lighter and more compact. Easier to carry all day. | Heavier and bulkier, but often with a more rugged feel. |
| Viewfinder | Electronic (EVF). Shows a real-time preview of the final image. | Optical (OVF). Provides a clear, direct view through the lens. |
| Autofocus | Advanced on-sensor autofocus, often with better video focus. | Reliable and fast, especially with older, established lens systems. |
| Battery Life | Generally shorter due to the power-hungry EVF and screen. | Excellent battery life, often lasting an entire day of shooting. |
| Lens Selection | Growing rapidly with top-tier modern lenses available. | Huge selection of both new and affordable used lenses. |
Both systems can deliver professional results for real estate. The choice usually comes down to whether you want the modern tech and portability of mirrorless or the longer battery life and cheaper used-lens market of a DSLR.
Full-Frame vs. Crop Sensor
Beyond the mirrorless vs. DSLR debate, sensor size is the single most important spec on the camera. The sensor is the digital chip that captures light and turns it into a photo. You will mostly see two sizes: full-frame and APS-C (also called a crop sensor).
A full-frame sensor is roughly the same surface area as a frame of 35mm film. A crop sensor is about 40% smaller, which crops in on whatever the lens projects — a 16mm wide-angle behaves more like a 24mm on APS-C.
This difference has a direct impact on real estate photos in three ways:
- Field of view: A full-frame camera uses the entire field of view of a wide-angle lens. That extra width is what makes a 12-foot bedroom look like a 12-foot bedroom instead of a closet.
- Low-light performance: Larger sensors gather more light. You get cleaner images with less digital noise in dim rooms — which describes most interiors before you turn the lights on.
- Dynamic range: Full-frame sensors hold more detail between the brightest and darkest parts of a scene. That matters every time you shoot a room with a sunlit window.
Crop-sensor cameras are cheaper and can absolutely handle real estate work, but full-frame is the standard for paid listing photography. The image quality and the wider field of view give you margin to work in any property and any lighting condition.
DSLR vs mirrorless for real estate photography
The choice between a dslr camera for real estate photography and a mirrorless body is mostly about which lens ecosystem you want to invest in for the next five years. Both formats produce identical-quality JPEGs once the file leaves the card. The differences live in the body itself.
Canon EOS R6 (mirrorless) vs Canon 5D Mark IV (DSLR)
The 5D Mark IV is the workhorse DSLR most working real estate photographers were shooting on through 2022 — 30 MP full-frame sensor, weather sealing, and a deep used-lens market. You can buy a clean used body for around $1,200 and pair it with the Canon EF 16-35mm f/4L for another $700.
The Canon EOS R6 (and the newer R6 Mark II) replaces it on the mirrorless side. 24 MP, in-body image stabilization, an electronic shutter that lets you shoot silently inside an occupied home, and a fully articulating screen so you can frame low-angle kitchen shots without lying on the floor. The catch: native RF lenses are expensive, and the EF-to-RF adapter adds bulk if you’re carrying old EF glass.
For pure listing photography on a tripod, the 5D Mark IV is still hard to beat on price-per-result. For agents who also shoot video walkthroughs handheld, the R6’s stabilization makes it the better long-term pick.
Nikon D850 vs Nikon Z7 II
The D850 is the high-resolution DSLR benchmark — 45.7 MP, 14 stops of dynamic range, and famously good shadow recovery for HDR brackets. Used bodies sit around $1,800. F-mount glass is plentiful and cheap on the secondhand market.
The Z7 II is the mirrorless equivalent at the same sensor resolution, with in-body stabilization and a much better tilting screen. The Z-mount lens lineup has caught up — the Nikon Z 14-30mm f/4 is one of the sharpest ultra-wides made for real estate work. Expect to pay $2,500 for the body and another $1,300 for the 14-30.
If you already own F-mount lenses, the D850 is the rational keep-or-buy. Starting fresh in 2026, the Z7 II is the future-proof choice.
Sony a7 IV
Sony’s a7 IV (33 MP, full-frame, in-body stabilization, $2,500 body-only) is the camera most photographers switching systems land on. The E-mount lens lineup is the deepest of any mirrorless system — the Sony 16-35mm f/4 PZ, the Tamron 17-28mm f/2.8, and the Sigma 14-24mm f/2.8 are all genuinely great real estate lenses. Autofocus is the best in the class, which matters more for video walkthroughs than for tripod-mounted stills.
The downside of going Sony in 2026 is the same as it was in 2020: menus are dense, and the ergonomics are smaller-handed than Canon or Nikon. If you can borrow a body for an afternoon before committing, do it.
For a complete shoot workflow that pairs these bodies with the right post-processing, see our HDR real estate photography guide and our walkthrough on how to take real estate photos.
Real estate photography cameras under $1,500 / $2,500 / $4,000
Budget defines what you should buy more than format does. These price tiers cover a body plus an ultra-wide lens — the only two pieces of gear that materially affect the image. Tripod, flash, and remote add another $400-600 on top regardless of tier.
Under $1,500 — used full-frame
The smartest move at this price is a used full-frame body, not a new crop-sensor.
- Canon 6D Mark II (used, ~$700) + Canon EF 16-35mm f/4L (used, ~$650). 26 MP, full-frame, the wide-angle is sharp corner-to-corner. Total: $1,350.
- Nikon D750 (used, ~$650) + Nikon AF-S 16-35mm f/4G ED VR (used, ~$700). 24 MP and one of the best dynamic-range sensors of its generation. Total: $1,350.
- Sony a7 II (used,
$600) + Tamron 17-28mm f/2.8 ($800). The cheapest path into the Sony ecosystem. Total: $1,400.
Under $2,500 — current-generation full-frame
This is the sweet spot for working photographers. Bodies under three years old, ultra-wide that will last a decade.
- Canon EOS R8 ($1,500) + Canon RF 15-30mm f/4.5-6.3 IS STM ($550). 24 MP mirrorless with the same sensor as the R6. Total: $2,050.
- Nikon Z6 II ($1,800) + Nikon Z 14-30mm f/4 ($1,300, sometimes bundled). Excellent stills + video crossover body. Total around $2,500-3,000 if you skip the bundle deal.
- Sony a7 III (still in production, $1,800) + Sony 16-35mm f/4 PZ ($1,200). Total: $3,000 — over budget unless you find the body discounted.
Under $4,000 — high-resolution flagship
Justified if you’re shooting luxury listings or large-format print marketing.
- Sony a7 IV ($2,500) + Sony 16-35mm f/2.8 GM II ($2,300). 33 MP and the best ultra-wide Sony makes. Total: $4,800 — push the lens to the f/4 PZ and you land at $3,700.
- Nikon Z7 II ($2,500) + Nikon Z 14-30mm f/4 ($1,300). 45.7 MP for cropping flexibility on architectural shots. Total: $3,800.
- Canon EOS R5 ($3,000) + Canon RF 15-35mm f/2.8L IS — body alone burns the budget. Skip unless you also shoot 8K video.
Real estate camera: what features actually matter
Most spec-sheet bullet points are noise. For a real estate camera specifically, four features actually move the needle on listing photos. Everything else is either nice-to-have or marketing.
Sensor size and dynamic range
Sensor size sets the ceiling for image quality. Full-frame is the working standard for a reason — the wider field of view, the lower noise in dim rooms, and the cleaner shadow recovery from underexposed corners all matter on every shoot.
Dynamic range is the spec that separates a good real estate camera from a great one. It measures how many stops of brightness the sensor can hold between pure black and pure white. Modern full-frame cameras (Sony a7 IV, Nikon Z7 II, Canon R6 II) capture 14-15 stops; older or crop bodies sit around 11-12 stops. That difference is the gap between a single exposure that holds the window view and the room interior, and a five-bracket HDR merge to get the same result.
Tilt-shift compatibility
Tilt-shift lenses are the architectural-photography power move. They let you shift the lens optically to correct converging vertical lines without physically tilting the camera up — so walls stay vertical instead of leaning inward like a pyramid. Canon’s TS-E 17mm f/4L and Nikon’s PC-E 19mm f/4 are the gold standard. Both cost $2,000+, but if you shoot luxury listings or commercial real estate, a tilt-shift saves hours of perspective correction in post.
Make sure your camera body is tilt-shift compatible if this is a likely future purchase. Canon RF and Nikon Z bodies use adapters to mount their respective EF/F-mount tilt-shift lenses; Sony shooters need third-party adapters that don’t always preserve communication.
Weather sealing
You will eventually shoot a property in the rain — exterior shots in the Pacific Northwest, dawn coastal listings in Florida, dusty unfinished construction shoots. A weather-sealed body with a sealed lens shrugs all of it off. Look for “dust and moisture resistant” in the spec sheet (Canon R6/R5/5D IV, Nikon D850/Z7 II, Sony a7 IV all qualify).
What does NOT matter as much as you think
- Megapixels above 30. Print marketing for an MLS listing tops out at 24 MP of useful detail. Anything more is wasted disk space.
- Burst frame rate. Real estate is shot one frame at a time, on a tripod, with a self-timer. 3 fps is plenty.
- Video specs above 4K30. Useful for property walkthroughs but not the deciding factor — if 6K and 10-bit log matter, you’re shooting cinema, not real estate.
- In-body stabilization for stills. Tripod-mounted shooting makes IBIS irrelevant for static interiors. It does help for handheld video walkthroughs.
Understanding Key Camera Features for Property Photos
Camera spec sheets read like a foreign language. Megapixels, sensor size, dynamic range, ISO invariance — what do any of them mean when you’re standing in a poorly lit living room trying to nail the shot? Getting a handle on these core features is what separates guessing from making a smart, informed decision about the gear you buy.
These specs aren’t abstract — they map directly to specific problems you hit on every shoot.
Sensor Size: The Foundation of Image Quality
The single feature to obsess over is sensor size. A full-frame sensor captures the full image circle a wide-angle lens projects, giving you the wider field of view real estate work demands.
An APS-C sensor (crop sensor) is roughly 40% smaller. Cameras using one are usually more budget-friendly, but they capture less light and crop in on the lens, so a 16mm wide-angle on an APS-C body acts more like a 24mm — making it a real struggle to fit the whole room in the frame without distortion in the corners.
- Better low-light performance: Bigger sensors capture cleaner images with less of the grainy texture (digital noise) you see in photos of dark rooms.
- Wider field of view: Full-frame lets ultra-wide lenses do what they were designed to do — capture the broadest possible perspective, which interiors require.
- Better image detail: When the sensor gathers more light, you get richer colors and finer details in everything from the wood grain on the floors to the fabric on the sofa.
Megapixels: Do You Really Need More?
Camera brands market megapixels hard, but more isn’t always better. A megapixel is one million pixels in your image. A higher number means more detail, but it also creates massive file sizes that bog down your computer during editing.
For real estate use cases — online MLS listings, standard print flyers, social posts — a camera in the 24 to 30 megapixel range is the sweet spot. You get all the resolution you need for sharp images without creating a workflow nightmare.
Key Takeaway: Prioritize sensor size over megapixels, every time. A 24-megapixel full-frame camera will almost always give you better results for real estate than a 50-megapixel crop-sensor camera, especially when the lighting isn’t perfect.
Dynamic Range: Your Secret Weapon for Tricky Lighting
Dynamic range might be the most underrated and crucial spec for real estate photography. It measures the camera’s ability to capture detail in both the brightest parts of a photo (a sunny window) and the darkest parts (a shadowed corner) at the same time.
Picture this: you’re shooting a living room with a great view. A camera with poor dynamic range forces a tough choice. You can either expose for the room (which blows the window into a flat white blob) or expose for the view (which plunges the room into a dark mess). A camera with high dynamic range captures both — the landscape outside and the furniture inside, in one balanced shot. This isn’t a nice-to-have — it’s the difference between a single-exposure shot and a five-bracket HDR merge. If you want to dig deeper, see our lighting enhancement feature and our guide on improving the lighting of any room.
The Lens Mount: An Investment in Your Future
The lens mount is the physical ring where the lens connects to the camera. Every brand — Sony E, Canon RF, Nikon Z, Canon EF, Nikon F — has its own system, so a Canon RF lens won’t mount on a Sony body without an adapter (and adapters aren’t always clean).
Buying a camera is buying into a lens ecosystem for the next five to ten years. Before you commit, check the wide-angle options for the mount: are there native ultra-wides between 14mm and 24mm? Are they within your budget? Lenses outlive bodies, so the system you pick matters more than the specific body.
Essential Lenses and Gear Beyond the Camera Body

Picking the right camera body is the first step. The accessories you attach to it — the lens, the tripod, the lighting — do as much of the work as the body itself.
Without the right support kit, even the most expensive camera will struggle to deliver consistent professional results. A few specific pieces of gear let you walk into any property, work around any lighting situation, and consistently capture the sharp, bright, inviting images your clients pay for.
The Workhorse Wide-Angle Lens
The lens shapes the final image more than the body does. For real estate, a wide-angle lens isn’t a suggestion — it’s the standard. Its job is to fit an entire room into the frame without making it look like a funhouse mirror.
A standard zoom only shows a sliver of a bedroom, making the space feel cramped. A good wide-angle captures the bed, the windows, and the entryway in one frame, giving buyers a real sense of the room’s actual size and layout.
For a full-frame camera, you want the 16-35mm focal range. For crop-sensor (APS-C) bodies, you need to go wider to compensate for the crop factor — look for something in the 10-24mm range.
A common rookie mistake is going too wide. Lenses below 14mm on full-frame start to introduce visible barrel distortion, bending straight lines and making rooms look unnaturally vast. This misleads buyers and damages trust. The goal is to show real spaciousness, not exaggerated perspective.
The Non-Negotiable Tripod
If you buy only one accessory, make it a solid tripod. Real estate photography is rarely shot handheld. A tripod is what gives you the perfectly crisp, tack-sharp images that define professional work.
Its main job is to eliminate camera shake, which is a significant problem when you’re forced to use slower shutter speeds in dim interiors. Just as importantly, a tripod is mandatory for bracketed shooting — the foundation of HDR photography. Bracketing requires multiple shots at different exposures merged later, and that only works if the camera doesn’t move between frames.
Look for these key features when you’re shopping for a tripod:
- Sturdy legs: It needs to feel solid, not flimsy, even when fully extended. Carbon fiber is the gold standard for being light and strong, but aluminum offers great stability at a much friendlier price.
- Geared center column: A lifesaver. It lets you make tiny, precise height adjustments to get architectural lines perfectly straight.
- Built-in bubble level: Saves a lot of time in post-production. It helps you get horizons straight from the start, so you’re not fixing tilted photos after the fact.
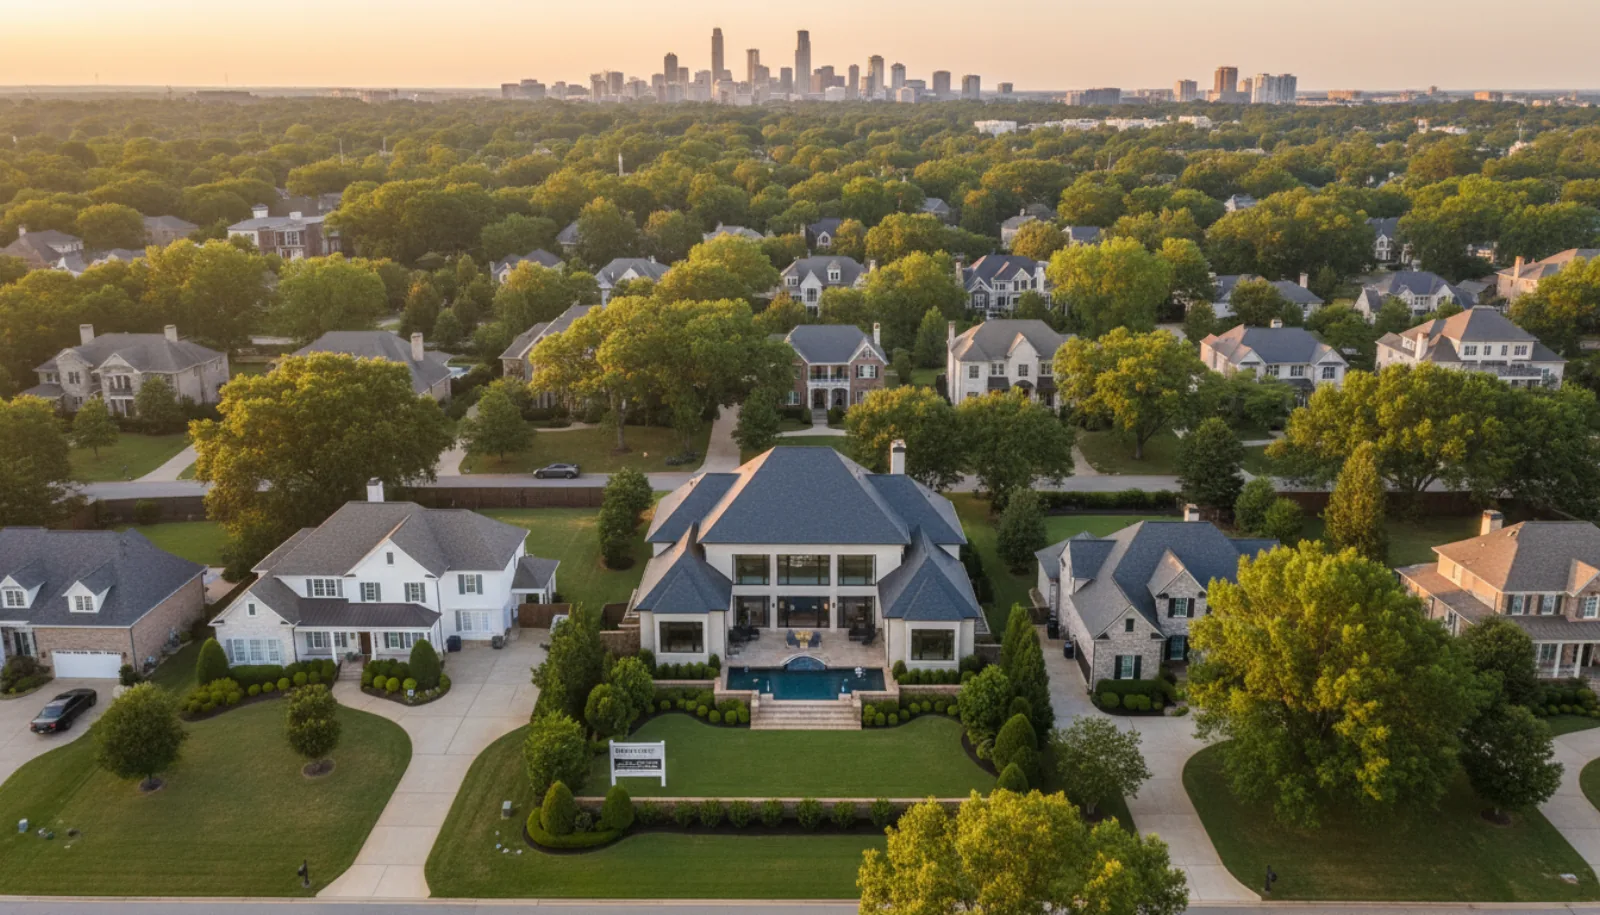
If you’re working with properties that have great views, a drone is probably in your future — see our aerial photography for real estate guide.
Essential Shooting Accessories
Beyond the camera, lens, and tripod, a few smaller pieces of gear make a real difference in efficiency and final image quality.
Remote shutter release Even on a sturdy tripod, the act of pressing the shutter button introduces a tiny vibration that softens the image. A remote shutter release — wired or wireless — lets you fire the camera without touching it. This is how you get maximum sharpness on every frame.
External flashes or strobes Natural light isn’t always cooperative. Some rooms are dark, some days are gloomy. An external flash (often called a speedlight) lets you create clean, controllable light wherever you need it. Bouncing the flash off a white ceiling or a neutral wall fills in harsh shadows and produces soft, flattering light.
Mastering Your Camera Settings for Flawless Real-Estate Photos
A great camera is the start, but the gear alone won’t produce professional images. The real difference between an amateur snapshot and an architectural photo comes down to a few critical settings. Taking control of your camera moves you from capturing a space to showcasing its best features.
This is where you stop letting the camera guess what looks good and start telling it what you actually need. Understanding the fundamentals — aperture, ISO, and shutter speed — is the key to consistently bright, sharp, inviting photos.
Ditch “Auto” and Embrace Full Manual Mode
First step: turn the dial from “Auto” to “M” for Manual. Auto mode is fine for a quick family photo, but it can’t handle the demands of interiors. The camera’s brain gets confused by bright windows next to dark corners, and the resulting photos are either too dark or have windows blown out to pure white.
Shooting in Manual puts you in control of the three exposure variables.
- Aperture: Controls how much of the scene is in focus.
- ISO: Determines how sensitive the sensor is to light.
- Shutter speed: Dictates how long the sensor is exposed to light.
Tweaking these three settings yourself gives you full creative control over the final image, ensuring every room looks the way you intend.
Set Your Aperture for Wall-to-Wall Sharpness
In real estate photography, the goal is to get everything in the room tack-sharp, from the chair in the foreground to the curtains on the back wall. Aperture controls this, measured in f-stops (e.g., f/4, f/8, f/11). A small f-stop number (like f/2.8) creates a “shallow depth of field,” meaning only a thin slice of the image is in focus. Great for portraits, wrong for interiors.
For property photos, you need the opposite. A higher f-stop number gives you a “deep depth of field,” keeping the entire scene crisp.
The sweet spot for most real estate work is between f/8 and f/11. This range delivers excellent sharpness across the entire frame without introducing the diffraction softness that creeps in at very high apertures like f/22.
Setting your aperture in this range is non-negotiable. It ensures buyers can see every detail, from the grain in the hardwood floors to the view outside the window.
Keep Your ISO Low for Clean, Noise-Free Images
ISO controls sensor sensitivity to light. A low ISO setting (like 100 or 200) makes the sensor less sensitive, which produces clean, detailed images. As you increase the ISO, the sensor gets more sensitive — useful in dark situations, but it introduces digital noise.
Digital noise shows up as a grainy, speckled texture that kills image quality and makes photos look cheap. Since you’re using a tripod (already covered above), you can use a slower shutter speed to gather more light. That lets you keep ISO low.
For the cleanest possible photos, stick to the lowest native ISO your camera offers, usually ISO 100. In a real pinch, you can push it to 400, but try to avoid going higher.
Nail Your Composition Every Single Time
With your technical settings locked in, the final piece is composition. How you frame the shot is as important as how you expose it. A strong composition guides the viewer’s eye through the photo and makes a space feel more open and easier to read.
Here are a few foundational rules to live by on every shoot:
- Shoot at chest height: Set your tripod somewhere between four and five feet. Shooting too low distorts furniture, making it look bulky. Shooting too high makes a room feel small and disconnected. Chest height gives a natural perspective, as if the viewer is walking through the home themselves.
- Keep your verticals straight: Use the camera’s built-in level or grid lines to make sure every vertical line — walls, door frames, windows — is perfectly straight. Tilted lines are distracting and immediately scream amateur.
- Use leading lines: Look for natural lines in the room — hallways, countertops, the edge of a rug — and use them to draw the viewer’s eye deeper into the space. A simple trick that creates depth and flow.
- Shoot from the corners: Whenever possible, set up in a corner to get the widest, most complete view of the room. The classic one-point perspective shot is a real estate staple because it shows off a room’s size and layout in a single frame.
How AI and Post-Processing Elevate Your Final Images
Getting the perfect shot in-camera is the first step. The work that turns a good photo into a magazine-worthy listing image often happens on the computer, where AI editing has changed the workflow. What used to take hours of manual masking can now be done in a few clicks.
The camera captures the raw material — the structure, the light, the lines. Post-processing is the polish that makes the image ready for marketing.
The New AI-Powered Workflow
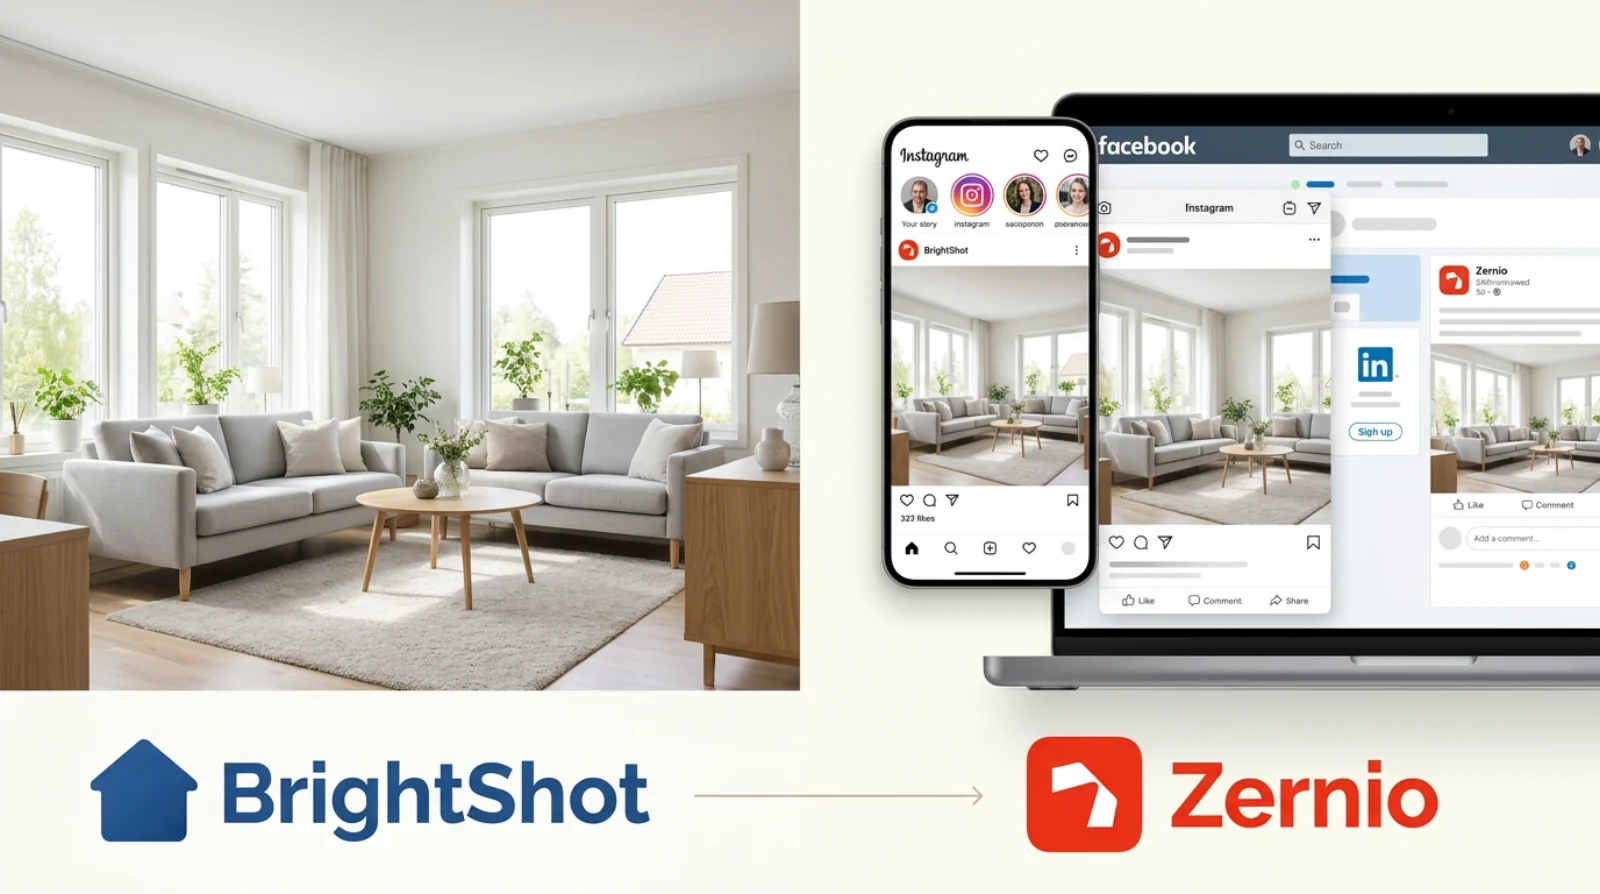
Modern AI platforms like BrightShot handle the most tedious editing tasks automatically. This goes well beyond simple brightness or contrast adjustments — these are sophisticated enhancements that previously required years of Lightroom and Photoshop experience. The result: faster turnaround for clients, more time for shooting.
For example, AI handles jobs like:
- Day-to-dusk conversions: Convert a standard daytime exterior into a twilight shot, complete with glowing interior lights and a dramatic sky. The hero image for any listing.
- Virtual staging: Fill an empty room with photorealistic furniture and decor. Helps buyers picture themselves in the space without the cost of physical staging.
- Sky and lawn replacement: Swap a gray, overcast sky for a clean blue one in seconds. The same workflow turns a patchy, brown lawn into a green carpet.
- Furniture removal: Strip cluttered rooms back to neutral with AI photo declutter, so buyers see the architecture instead of the seller’s stuff.
Getting these results starts with a clean source file. The camera settings you choose are critical — see our deeper real estate photography camera settings guide for the exact aperture, shutter speed, and ISO numbers we recommend.

Nailing these core settings — Manual Mode, sharp aperture, low ISO — is how you capture pristine source files that AI enhancement tools can actually work with.
Reducing Reshoots and Boosting Your Bottom Line
The biggest practical win with an AI-driven workflow is fewer costly reshoots. Did the seller forget to hide a pile of laundry? AI object removal makes it disappear. Did the weather refuse to cooperate? A sky replacement fixes that gloomy exterior in one pass.
Less time on tedious edits and fewer return trips to a property means more clients per month and more revenue per shoot.
The timing is right. The global real estate photography market was valued at $2.4 billion and is projected to nearly double to $4.5 billion by 2035. Listings with professional photos get 47% more online views and up to 39% more inquiries.
AI tools let you consistently deliver the visuals that agents and sellers are paying for, justify higher rates, and build a reputation for both speed and quality. To go deeper, see our AI real estate photo editing guide. A great camera plus intelligent post-processing isn’t just a more efficient workflow — it’s a more profitable business.
Common Questions About Real Estate Photography Cameras
Camera gear can feel overwhelming. Whether you’re starting out or considering an upgrade, you have questions. Getting them answered is how you invest wisely and build a kit that lasts for years.
Here are the most common questions that come up when choosing the right camera for real estate photography.
Do I Need a Full-Frame Camera?
This is the most frequent question. Full-frame is the top-tier choice for low-light performance and overall image quality, but it’s not the only path to professional results.
Plenty of working photographers shoot listings with modern APS-C (crop sensor) cameras. The trick is to pair a more affordable body with a top-quality, ultra-wide lens — something in the 10-22mm range. That combination compensates for the crop factor and lets you capture the wide, spacious feel rooms need.
How Many Megapixels Are Enough?
It’s easy to get pulled into the “megapixel race.” For real estate work, more isn’t automatically better.
A camera with a resolution between 24 and 30 megapixels is the sweet spot. Plenty of resolution for online listings and standard print marketing. Higher megapixel counts mean massive file sizes that bog down your editing computer and force you to buy more storage.
Key Insight: Forget the megapixel obsession and focus on dynamic range instead. A camera’s ability to capture detail in bright windows and dark corners in a single shot is far more valuable for interior photography.
Can I Just Use a Smartphone?
Smartphones have come a long way, and their cameras are good. But for professional work, they can’t compete with a dedicated camera setup. The moment you pick up an interchangeable-lens camera, you gain a real advantage.
- Better optics: High-quality glass delivers a level of sharpness and clarity a phone lens can’t match.
- Manual control: Full manual control over aperture is critical for getting an entire room tack-sharp (deep depth of field).
- Dynamic range: A dedicated camera sensor captures a wider range of light, which is the secret to avoiding blown-out white windows.
Drone photography has also become a major part of the toolkit, with 82% of agencies now using drone services. Aerial shots can increase a property’s chance of selling by 68%, per industry reports on Matterport.com.
For more on adding immersive visuals to your kit, see our guide on how to improve 3D photography — another fast-growing specialty.