If you’re searching for the fastest, cleanest workflow to edit a full real estate shoot — not a feature comparison or a tool roundup — this is the guide. We’ll walk through the exact six-step process pros use to take a card full of RAW files and turn them into MLS-ready images in under 10 minutes per listing. If you’re upstream of editing and still nailing the capture itself, our companion guide on how to take real estate photos covers the 6-shot template and DSLR/iPhone settings that feed cleanly into this workflow.
The workflow:
- Shoot RAW (in-camera setup that makes editing easier)
- Import & cull in Lightroom
- Apply baseline corrections (lens, perspective, exposure)
- Color and white balance
- Hand off to an AI tool for staging, decluttering, sky, and dusk conversion
- Export with platform-specific presets
If you want a deep dive on the AI tools themselves — what each one does, pricing, when to use which mode — read our complete guide to AI real estate photo editing alongside this. This article is about the workflow; that one is about the tools.
Why a Workflow Matters More Than Any Single Tool
A single great photo is easy. Editing 25 of them, consistently, every week, is what separates the pros from the hobbyists. Most photographers I’ve watched lose hours not because they’re slow editors, but because they don’t have a system — they re-decide every step on every photo.
A repeatable workflow gives you:
- Consistency across the gallery — the buyer scrolling Zillow shouldn’t see warm photos sandwiched between cool ones.
- Speed at scale — batched corrections beat per-photo decisions every time.
- Quality you can defend — when the seller asks “why does this look so different from real life?” you have a process to point to, not a vibe.
Listings with high-quality, consistently edited photos get 118% more online views, sell 18% faster, and close 39% closer to list price. The system is the leverage.
Step 1: Shoot RAW (and Why JPEG Will Cost You Hours)
The single highest-leverage decision in this entire workflow happens before you ever open editing software: shoot RAW.
A JPEG is a cake someone else baked. The camera has already locked in white balance, contrast, sharpening, and compression. You can frost it differently, but you can’t change the recipe. Try to recover a blown-out window or a shadowy corner from a JPEG and you’ll get muddy, banded results.
A RAW file gives you the full sensor data. You can pull two stops of detail out of a window, lift shadows without noise, and re-do white balance from scratch — all non-destructively.
Camera Settings That Save Editing Time
Get these right in-camera and you’ll cut editing time in half:
- Aperture: f/8–f/11 for full depth of field
- ISO: as low as your tripod will allow (100–400)
- Shutter: whatever balances the exposure — you’re on a tripod
- Bracketing: enable 3-shot AEB at ±2 EV for HDR-prone rooms (any room with a window)
- Tether or 2-second timer: zero camera shake
- Lens: 16–24mm equivalent on full-frame, kept level
For a deeper read on the camera side, see our real estate photography camera settings guide and the HDR for real estate breakdown.
Step 2: Import and Cull in Lightroom
Before any pixels move, get organized. A single property shoot can leave you with 200+ files. If you don’t have a folder system, you’ll waste 15 minutes per listing just hunting for files.
The Folder Structure I Use
/123 Main Street/
   /01_RAW/        ← untouched originals (your digital negatives)
   /02_EDITED/     ← Lightroom catalog + edited TIFFs
   /03_AI/         ← intermediate exports for AI processing
   /04_EXPORT/     ← final JPEGs for MLS, Zillow, social
Import into Lightroom (or Capture One — same workflow), then cull aggressively. Two passes:
- Reject pass — flag blurry, mis-framed, or duplicate brackets you won’t use. Press X.
- Pick pass — flag the keepers. Press P. Aim for 25–40 final images per property.
Don’t edit anything yet. Culling first means you only invest editing time in photos that ship.
Step 3: Baseline Corrections (Lens, Perspective, Exposure)
This is the unglamorous foundation that everything else sits on. Three corrections, applied to every photo before you touch creative sliders:
Lens Correction (One Click, Apply to All)
Wide-angle lenses bend straight lines. Lightroom has built-in profiles for nearly every camera-and-lens combo:
- Develop → Lens Corrections → check Enable Profile Corrections
- Remove Chromatic Aberration
Set this on your first photo, then sync it across the whole batch (Ctrl/Cmd + Shift + S). Door frames stop bowing instantly.
Perspective (Vertical Lines Must Be Vertical)
Tilt the camera even half a degree and walls appear to lean. Use:
- Transform → Upright → Auto or Vertical
- Fine-tune with the Vertical slider if needed
This single fix is the strongest “this looks professional” signal in the entire edit. Buyers can’t articulate why crooked photos feel cheap, but they feel it.
Initial Exposure
Don’t go for the final look yet — just get a balanced starting point:
- Exposure: nudge until the room is properly visible
- Highlights: down (-30 to -60) to recover window detail
- Shadows: up (+20 to +50) to open dark corners
- Whites/Blacks: set the endpoints — alt-drag to see clipping
- Contrast: leave alone for now
This is the foundation. Sync these baseline settings across all photos shot in the same room and lighting condition.
Step 4: Color and White Balance
Light and color do 90% of the visual work. Get them right and the photo sells itself; get them wrong and no amount of AI staging will save it.
Fix White Balance First
Indoor lighting throws off color cast — the warm yellow from incandescents, the green from cheap LEDs. Make the whites actually white:
- Grab the white balance eyedropper in Lightroom’s Basic panel
- Click on something that should be neutral: a white wall, the ceiling, white trim
- Watch the entire image’s color cast snap into place
Adjust the temperature slider afterward to taste — slightly warmer for cozy living rooms, slightly cooler for modern bathrooms.
Blend Exposures for Window-Heavy Rooms
If you bracketed (and you should have), merge the brackets:
- Select all three frames
- Photo → Photo Merge → HDR
- Auto Align + Auto Settings + Deghost: Low
The result is a single DNG file with both window detail and interior shadow recovered — no halos, no HDR-clown look.
Final Color Pop
With white balance locked in, finish with subtle color enhancement:
- Vibrance: +15 to +25 (smarter than saturation — protects skin tones and already-saturated colors)
- Saturation: +5 max, or skip it
- HSL panel: nudge blue luminance down slightly to deepen sky, green saturation up slightly for lawns
Properly color-corrected MLS photos see 32% higher engagement. White balance alone is worth the time investment.
Step 5: Hand Off to AI for Staging, Decluttering, Sky, and Dusk
This is where the workflow has changed the most in the last two years. Tasks that used to take hours in Photoshop — virtual staging, sky replacement, day-to-dusk conversion, decluttering — now take seconds in a dedicated AI tool.
You don’t pick AI or Lightroom. You use Lightroom for the foundation (lens, perspective, exposure, color), then export TIFFs to your AI tool for the creative transformations. They’re complementary, not competing.
What to Use AI For
| Task | Why AI Beats Manual |
|---|---|
| Virtual staging | $50–$200/photo manually vs. pennies with AI; 30 seconds vs. hours — see our vacant home staging with AI walkthrough |
| Decluttering | AI fills in backgrounds intelligently; clone-stamping is tedious |
| Sky replacement | Pixel-perfect masking around tree branches |
| Day-to-dusk conversion | Re-lights interiors automatically; near-impossible by hand |
| Lawn greening | Color-aware spot work that would take 20 minutes manually — full method in our AI lawn replacement guide |
| Object removal | Trash cans, hoses, pool toys, cars — gone in one click |
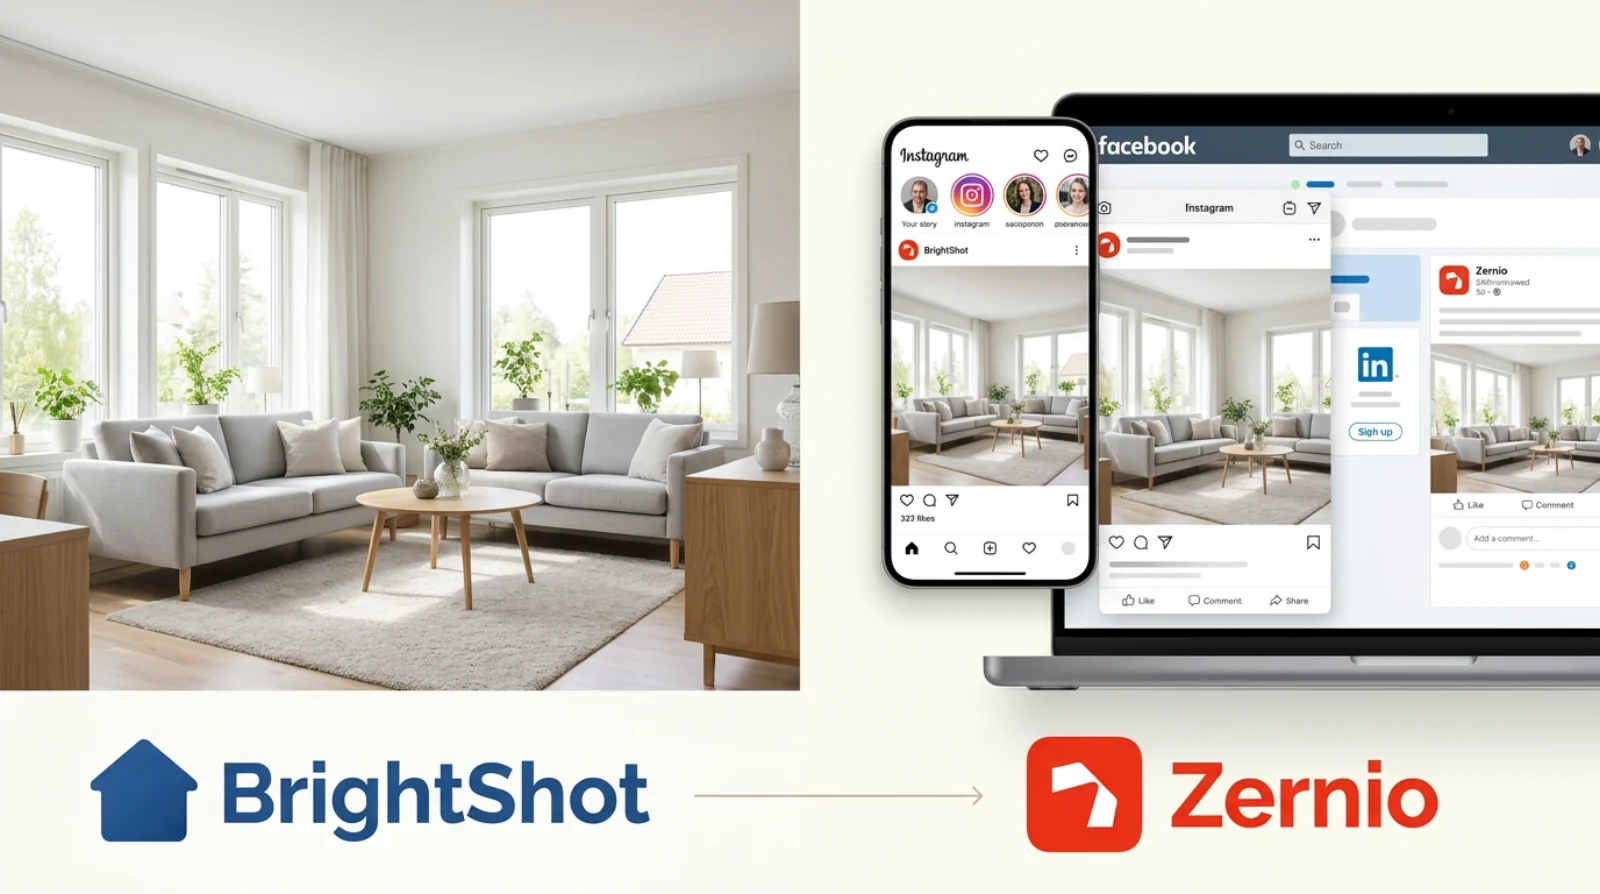
For the full breakdown of which AI tools handle which tasks (BrightShot, Virtual Staging AI, Collov, PhotoUp, AI HomeDesign), refer to the complete AI real estate photo editing guide — that’s the deep reference.
Where AI Slots Into the Workflow
- Export from Lightroom: TIFF, sRGB, full resolution → into
/03_AI/ - Upload to your AI tool: most platforms (BrightShot, etc.) accept batch uploads
- Apply transformations:
- Empty bedroom → virtual staging in your chosen style
- Cluttered living room → AI decluttering
- Hero exterior with gray sky → sky replacement + day-to-dusk conversion
- Dark interior → AI lighting enhancement
- Review and regenerate: AI gives different results each run; try 2–3 generations and pick the best
- Download enhanced files back into
/03_AI/output/
The split is simple: Lightroom owns the foundation (geometry, exposure, color truth). AI owns the storytelling (staging, sky, dusk, decluttering). Don’t try to make either one do the other’s job.
Step 6: Export for MLS, Web, and Social
You’ve done the work. Don’t trip at the finish line by exporting wrong. Each destination has different specs, and getting them wrong means rejected uploads or images that look soft on Zillow.
Build Export Presets Once, Reuse Forever
In Lightroom: File → Export → Add (preset). Build one for each destination:
| Platform | File Format | Resolution | Color Space | Quality | Notes |
|---|---|---|---|---|---|
| MLS / Zillow | JPEG | 2048px long edge | sRGB | 80–90% | Stay under 10MB; sharpen for screen, standard amount |
| Print brochure | TIFF | 300 DPI, full res | sRGB or CMYK | n/a | Ask the printer for color space |
| Website / portfolio | JPEG | 1600–2000px long edge | sRGB | 80% | Optimize file size for page speed |
| Instagram (post) | JPEG | 1080px short edge, 4:5 crop | sRGB | 85% | Vertical wins on mobile |
| Instagram (story / reel) | JPEG | 1080×1920 | sRGB | 85% | Account for safe zones |
MLS Compliance: Don’t Get Rejected
Most MLS platforms reject:
- Files over 10MB
- Resolution under 1024px on the long edge
- Anything but JPEG
- Watermarks larger than ~10% of the frame
Stay safely above the minimums (2048px is the sweet spot) and apply Output Sharpening: Standard in the export dialog. Downsizing softens photos slightly — output sharpening recovers the bite.
Watermarks: Subtle or Skip
If you watermark, keep it small and semi-transparent in a bottom corner. A massive logo across the middle of a hero shot screams amateur and gets rejected by some MLS systems anyway. Many photographers skip watermarks on MLS uploads entirely and only watermark portfolio versions.
The Full Workflow, End to End
Putting it all together for a typical 25-photo listing:
- Shoot (on-site, ~45 min): RAW + bracketed exposures for window-heavy rooms
- Import & cull (5 min): Lightroom, two passes, end with ~30 keepers
- Baseline sync (5 min): lens, perspective, exposure on the first photo of each room, sync to the rest
- Color & WB (10 min): white balance per room, vibrance to taste, HDR merges where needed
- AI pass (10 min): export → upload → stage / declutter / sky / dusk → download
- Final export (2 min): MLS preset for the deliverable set; social preset for the marketing set
Total time per listing: 30–45 minutes, down from the 4–6 hours a manual Photoshop workflow used to take.
Common Workflow Mistakes (Avoid These)
A few traps I’ve watched photographers fall into:
- Editing before culling. You’ll spend 15 minutes perfecting a photo that doesn’t make the final cut.
- Skipping perspective correction “to save time”. The crooked walls show. Buyers can’t name what’s wrong; they just feel it.
- Cranking saturation instead of vibrance. Saturation makes everything look like a Lisa Frank sticker. Vibrance is smarter.
- Trying to do AI staging in Lightroom or Photoshop. You can — and you’ll spend 3 hours per room. That’s what dedicated AI tools are for.
- No export presets. Manually setting dimensions and quality on every export is how you ship a 24MB photo to an MLS that maxes out at 10MB.
- Over-editing exteriors. The grass should look healthier, not radioactive. The sky should be a believable blue, not a screensaver.
FAQ
How long should the full edit take per listing?
With this workflow, 30–45 minutes for a 25-photo gallery. The biggest time savings come from batching baseline corrections and offloading creative transformations to AI. If you’re still spending 3+ hours per listing, you’re either skipping the batch sync step or trying to do AI-style edits manually.
Can I do this all in Lightroom without a separate AI tool?
You can do steps 1–4 and 6 entirely in Lightroom. Step 5 (staging, decluttering, sky replacement, day-to-dusk) is where AI tools save you the most time — Lightroom’s generative tools are improving but aren’t yet at the level of dedicated real estate AI platforms. See the complete AI tool comparison for which ones to use when.
Is it ethical to virtually stage and replace skies?
Yes, with disclosure. MLS guidelines accept “Virtually Staged” or “Sky Enhanced” tags on edited images. The line is structure — you can change what’s in a room (furniture, clutter, sky outside the window) but not the room itself (no adding walls, windows, or square footage).
Phone editing — is it ever good enough?
For a one-off social post, sure. For an MLS-ready gallery, no. You need real perspective correction, exposure blending, and pinpoint white balance — phone apps don’t have the precision for any of those at a professional level.
Lightroom vs. Capture One vs. Luminar?
Workflow is identical across all three. Use whichever you already own. Lightroom has the best AI mask tools and the largest preset ecosystem; Capture One has slightly better tethering and color science; Luminar Neo has the most built-in AI. Pick one and stop shopping — the workflow matters more than the tool.
Ready to cut your editing time? Try BrightShot’s AI editing free — handle staging, decluttering, sky replacement, and day-to-dusk conversion in seconds, then drop the results back into your Lightroom export.