There are two honest answers to how to make a real estate video in 2026, and they couldn’t look more different. Path A is the traditional shoot: gear up, walk the property with a gimbal, shoot a shot list, edit in Premiere or DaVinci, ship two days later. Path B is the AI route: feed your existing listing photos to a video generator, pick a music mood, hit export, and post the video the same hour. Both are legitimate, and most agents who do video at scale use both — DIY for hero listings, AI for the rest of the pipeline.
This guide covers both paths step by step. You’ll get the 6-shot template that works for any property, the camera settings that take the guesswork out of interior video, the editing pass that separates polished work from hobbyist video, and seven real-world video ideas you can shoot tomorrow. By the end you’ll know which path fits which listing — and how to combine both so you never miss a marketing video again.
Plan the shot list before you do anything
A real estate video lives or dies on the shot list. Walk into a property without one and you’ll come home with 40 minutes of unusable handheld footage. Walk in with a six-shot template and you’ll be back at your desk an hour later with everything you need.
The 6-shot template that works for any property:
- Exterior approach — Wide shot from the curb, tilting up to reveal the house. Drone if you have one (our drone video for real estate guide covers Part 107, drone picks, and the 7-shot aerial list that pairs with this opener). This sets the stage and is your strongest opening frame.
- Entry walk-in — Through the front door into the foyer. This is the buyer’s first emotional cue and a natural transition from outside to inside.
- Kitchen — The single most important interior room for buyer decisions. Slow pan from island to backsplash to appliances.
- Primary bedroom — Wide reveal from the doorway, then a slow push toward the window or a feature wall.
- Primary bath — Wide pan, then a detail shot of any premium feature (rainfall shower, freestanding tub, double vanity).
- Living/main area + backyard — A connecting shot through the main living space that ends with the backyard reveal. This is your closing frame.
Six shots, roughly five seconds each, plus connecting transitions and a title card gets you to a 60-second video. Add detail shots and you’re at 90 seconds. Add a drone exterior and a closing agent-intro and you’re at the 2-minute mark, which is the ceiling for listing video on YouTube and your website.
The 3-3-3 rule for video cadence
If you’re trying to build a sustainable video output, plan to ship a 3-minute hero video, 3 short-form social clips, and post across 3 days. Same shoot, three deliverables, three publishing windows. This is how you get the ROI back on the time you spent on-site without re-shooting.
Map this to your listing pipeline: hero listings get the full DIY shoot, mid-tier listings get a 60-second AI video, rentals and pocket listings get a 30-second vertical from photos. Your video workflow scales with the listing’s marketing budget, not the other way around.
Path A: Shoot it yourself with a camera
Gear (linked to the buying guide)
For DIY real estate video in 2026, the kit you actually need is shorter than most YouTube videos suggest. A wide-angle mirrorless camera, a gimbal or tripod, a memory card, and a wide lens. That’s it. We covered the camera bodies and lenses in detail in our best camera for real estate video guide — the short answer for most agents is a Sony A7C II with a 16-35mm zoom, or a Canon EOS R8 with the RF 16mm f/2.8.
The non-negotiable accessories:
- Gimbal or tripod. A gimbal (DJI RS 4 Mini or Zhiyun Crane M3S) gives you cinematic walking shots. A tripod with a fluid head gives you locked-off pans. Most pros own both. If you only buy one, buy the gimbal.
- Wide-angle lens. Already covered above — 16-35mm full-frame or 10-18mm APS-C. Skip anything that starts at 24mm; small bedrooms will look like closets.
- Two batteries and two memory cards. You will fill one and run out of charge on one, every shoot.
- Lens cloth. Interior shooting picks up dust on the front element. A smudged lens shows up immediately at f/8.
Settings that take the guesswork out
Real estate interiors are a remarkably consistent shooting brief. The settings barely change between properties:
- Focal length: 16-24mm full-frame equivalent. Wider than 16mm starts to fish-eye walls; longer than 24mm makes rooms look small.
- Aperture: f/8. Deep enough depth-of-field that everything from the foreground table to the back wall is sharp. Stop down to f/11 only if you have very bright direct sunlight through windows.
- Shutter speed: 1/50s for 24fps recording, 1/60s for 30fps. Lock this and never change it.
- ISO: Auto, with a ceiling of ISO 3200. Modern full-frame sensors handle this cleanly.
- White balance: Manual, set to ~5500K for daylight rooms, ~3200K for tungsten-lit rooms. Auto WB drifts as you walk between rooms and creates color-grading nightmares in post.
- Picture profile: Standard or Neutral, NOT a flat log profile. Log video needs color grading you don’t have time for. Bake in a clean, slightly warm look in-camera.
- Frame rate: 4K at 30fps for everything. Use 60fps only if you need slow-motion B-roll (you probably don’t).
Stabilization: gimbal vs handheld
A gimbal is the difference between amateur and professional. Period. The shots that make a real estate video feel like a real estate video — the smooth walk through a doorway, the gentle pan across a living room, the dolly-in to a fireplace — are gimbal shots. IBIS in your camera body is a bonus, not a substitute.
If a gimbal isn’t in the budget yet, lean on locked tripod shots instead of handheld. A static, perfectly level wide shot of a kitchen will always look more professional than a shaky handheld pan. Don’t try to fake gimbal motion with handheld unless you’ve got a stabilization rig.
B-roll and audio
Shoot more B-roll than you think you need: detail shots of fixtures, faucets, lighting, hardware, door handles, the view from windows. These are the cutaways that hide your editing seams and add the sense of luxury that wide shots alone can’t deliver. Plan for 2-3 detail shots per room.
For audio: the easy answer is “no production audio, just music.” Real estate video almost never needs in-camera audio because you’re not interviewing anyone on-site. Music from Artlist, Epidemic Sound or Musicbed runs $15-20/month for unlimited licensing. If you do want voiceover narration, record it at home with a USB mic into Audacity — much cleaner than trying to capture audio in an empty house with hard surfaces.
For a complete shoot-to-export walkthrough — including the exact gimbal moves and camera settings used on a real property — Andrei Restrepo’s getting-started tutorial covers the same ground end to end:
For the solo-luxury template — agent + gimbal, no second shooter, real shot sequence — FullTimeREP’s exact production walkthrough is one of the more concrete one-person breakdowns out there:
Path B: Generate it from photos with AI
The honest case for AI-generated video isn’t that it replaces a videographer. It doesn’t. The case is that most listings don’t justify a one-hour shoot day. Rentals, sub-$300K listings, pocket listings, back-on-market relistings, vacant-lot reveals — these all benefit from a video, but none of them have the marketing budget for a $300 videographer or two hours of your time on a gimbal.
Here’s the AI workflow end-to-end:
- Start with your listing photos. The same set you’d already upload to the MLS — for capture standards that produce the cleanest source frames, see our guide to taking real estate photos. Ten to fifteen photos is the sweet spot. Higher counts add length but diminishing returns past 20.
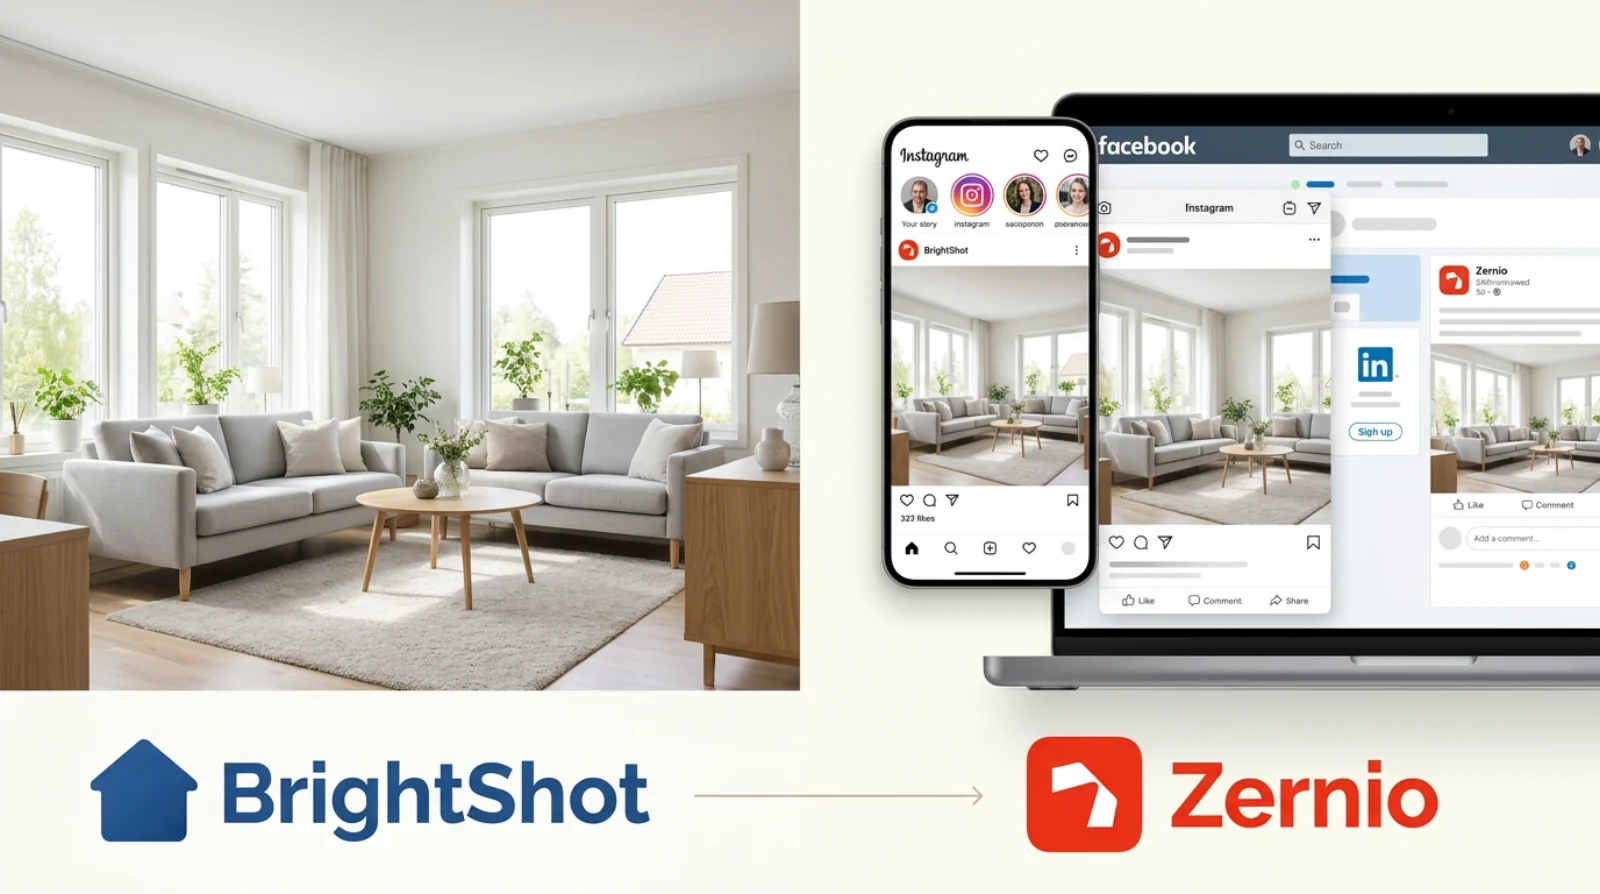
- Upload to BrightShot. The platform analyzes each photo, detects the room type, and queues the video render.
- Pick a music mood. Four moods cover the full range: cinematic for luxury and architectural homes, upbeat for starter homes and family-friendly listings, chill for waterfront and vacation properties, ambient for minimalist and modern listings. The mood determines the pacing and intensity of the camera moves.
- Optional voiceover. Type the property description, pick a voice (
novafor warm female,onyxfor deep male), and the AI narrates the video as it plays. Estimate roughly 2.5 words per second of pacing — a 60-second video fits about 150 words. - Choose output dimensions. 1080p horizontal (16:9) for YouTube, your website and the MLS. 9:16 vertical for Instagram Reels, TikTok, and YouTube Shorts. The platform exports both from the same source.
- Render and post. A typical 60-second video renders in under a minute. The output is a clean MP4 ready to upload.
What the AI is doing under the hood: it adds realistic camera moves to each photo (slow dolly-ins, gentle pans, soft tilts), times the cuts to match the music’s beat, generates per-clip voiceover audio if you provided narration text, fades between scenes with crossfades, and muxes everything into a single render — exactly the same pipeline a manual editor would build, just automated.
Try BrightShot’s AI video generator free — Turn your listing photos into a buyer-ready cinematic walkthrough in under a minute. Four music moods, optional voiceover, 1080p horizontal + 9:16 vertical exports from the same render. Generate Your First AI Video Free →
The honest tradeoff: AI video is exceptional at the volume play and very good at most listings, but it can’t capture the specific feel of a videographer who understood the property. A great human video has intentionality — a reason a particular shot lingers, a reason another shot cuts fast. AI video is consistent, fast, and 80% as good as a careful manual edit. For most listings, that’s the right tradeoff. For luxury hero listings, hire the human.
The fastest scaling pattern I’ve seen agents use: shoot DIY video for two or three flagship listings a quarter, generate AI video for everything else. Same brand, consistent output, no listings ever go to market without a video again.
Editing tips (even AI output benefits from a quick pass)
Whether you shot the video yourself or generated it, a 5-minute editing pass elevates the final result.
Branding overlay. Drop your logo, name, brokerage and contact info as a clean lower-third in the first 3 seconds and the closing frame. Keep the typography simple — Helvetica, Inter or Montserrat in white on a subtle drop shadow. No flashy animations.
Title card with the address. Open with a 2-second card showing the property address, beds, baths, square footage and price. Buyers scrolling Instagram need this in the first frame, not at the end.
Music match the property type. This is true for both DIY and AI video: cinematic music belongs on luxury and architectural homes, upbeat tracks fit starter and family homes, ambient suits modern and minimalist properties, chill works for waterfront and vacation rentals. A mismatched music track makes a $2M home feel cheap and a $300K home feel pretentious.
One call-to-action at the end. “Schedule Your Private Tour →” with a phone number, an email, or a website. Pick one. Multiple CTAs split attention. For the wider distribution playbook — which platforms to post on, how often, and how to repurpose — see our real estate video marketing guide.
Caption everything. 85% of social video views happen with sound off. Auto-caption tools in CapCut, Descript or Premiere take 30 seconds and make the video work everywhere.
For deeper post-production techniques — color grading, transitions, exporting for each platform — our complete guide to real estate video editing walks through the workflow shot by shot.
The whole edit can live on a phone too — vertical timeline, drag-to-trim, music sync, and an export straight to Reels:
Real estate video ideas to inspire your shoot
If you’re stuck on what to shoot, here are seven real estate video ideas that consistently perform — across both DIY shoots and AI-generated workflows.
- The “just listed” reel. A 30-second vertical video, three to five hero shots, big text overlay with “JUST LISTED” and the address. Post on Instagram and TikTok the day the listing goes live.
- Neighborhood walkthrough. Skip the house entirely — shoot the coffee shop, the school, the park, the walking trail. Buyers buy lifestyle. A 60-second neighborhood video paired with a listing video doubles your engagement.
- Before/after staging reel. Show the listing empty, then dissolve to staged. AI staging from photos works well here too — generate the staged version, then split-screen against the original. Powerful for vacant homes.
- 15-second agent intro. Your face, your voice, your tagline, your phone number. Shoot once, use forever in your bio link, on email signatures, and as the closing frame on every listing video.
- Single-feature highlight. A 20-second video focused on one selling feature: the kitchen, the pool, the master closet, the view from the deck. Easier to shoot than a full tour, and the algorithm rewards focused content.
- Drone exterior + neighborhood. A 45-second aerial sequence covering the house, the lot, and 200 yards of context — neighbors, street, surroundings. This is the shot that contextualizes the listing for out-of-area buyers.
- Market update / vlog. A 90-second monthly vlog with three local stats, one off-market story, and a CTA. Builds your personal brand independent of any single listing. Pair with a real estate virtual tour software embed of a current featured listing for cross-promotion.
Each of these works equally well shot in-camera or generated from existing photos. The formula matters more than the source.
FAQ
How long should a real estate video be?
It depends on the platform. YouTube and your website: 2-3 minutes for a full cinematic tour. Instagram Reels and TikTok: 15-60 seconds for short-form vertical. Facebook feed: 60-90 seconds. MLS listings: check your specific MLS rules — many cap at 90 seconds, some allow 3 minutes. The single most important rule across all platforms: your first 3-5 seconds must hook the viewer. Open with your strongest exterior shot or a striking interior reveal — never with a logo card.
What’s the best app to make real estate videos?
For DIY editing on a desktop: DaVinci Resolve (free, professional-grade) or Adobe Premiere Pro (subscription, industry standard). On mobile: CapCut is the runaway favorite for short-form social content, with auto-captions and trending audio built in. For AI-generated video from photos, BrightShot is purpose-built for real estate listings — pick a music mood, optionally add voiceover, and export both horizontal and vertical formats from one render. The right answer depends on whether you’re shooting your own footage or generating from photos.
Can I make a real estate video from just photos?
Yes — this is the AI-from-photos workflow covered in Path B above. Modern tools take your listing photos, add realistic camera moves (pans, dolly-ins, tilts), match cuts to a music track, and optionally add a voiceover narration. The output is a clean cinematic video in under a minute. It won’t replace a great videographer for hero listings, but for the 80% of listings where a one-hour shoot day isn’t justified, photo-to-video AI is now the dominant workflow. Ten to fifteen photos is the sweet spot; the platform handles the rest.
How much does it cost to make a real estate video?
Three honest price points. DIY in-house: $1,500-3,000 one-time for a camera, lens and gimbal, plus $15-20/month for music licensing. Hiring a videographer: $300-1,500 per listing depending on market, with luxury properties hitting $2,000+. AI-generated from photos: $0.50-2 per video on a subscription plan, or free on most starter tiers. For most agents, the math works out to: AI for routine listings, in-house for mid-tier, hired pro for luxury. The mix scales with the listing’s marketing budget, not the agent’s preference.